

How to Install WordPress on Hostinger: Step by Step (2026)
August 2, 2026 | by anisurrahaman235f@gmail.com
Installing WordPress used to mean downloading a ZIP file, uploading it through FTP, creating a database manually, and running a five-minute setup script while hoping nothing timed out along the way. Hostinger has largely eliminated that friction with a built-in one-click installer, but the exact path through hPanel has shifted slightly over the past year as the company has refined its onboarding flow. This guide walks through the current 2026 process from start to finish, including what to do immediately after installation, so your new site isn’t left exposed or unoptimized.
Before You Start: What You’ll Need
Getting this right the first time saves you from backtracking later. Make sure you have the following ready before opening hPanel:
- An active Hostinger hosting plan — any shared, cloud, or business plan supports WordPress, though plans with a bundled CDN (Business tier and above) will give your finished site noticeably better real-world speed
- A domain name — either purchased through Hostinger directly or pointed to Hostinger’s nameservers if registered elsewhere
- Login credentials for your Hostinger account
- A rough idea of your site title and an admin email address you actively check, since it’s used for account recovery
- Optionally, a theme in mind — Hostinger’s installer lets you start with a blank WordPress install or a pre-designed starter template, so having a direction (blog, portfolio, store) helps at this stage
You do not need any coding knowledge, FTP software, or manual database setup for the standard installation path covered here.
Step 1: Log In to Your Hostinger Account and Open hPanel
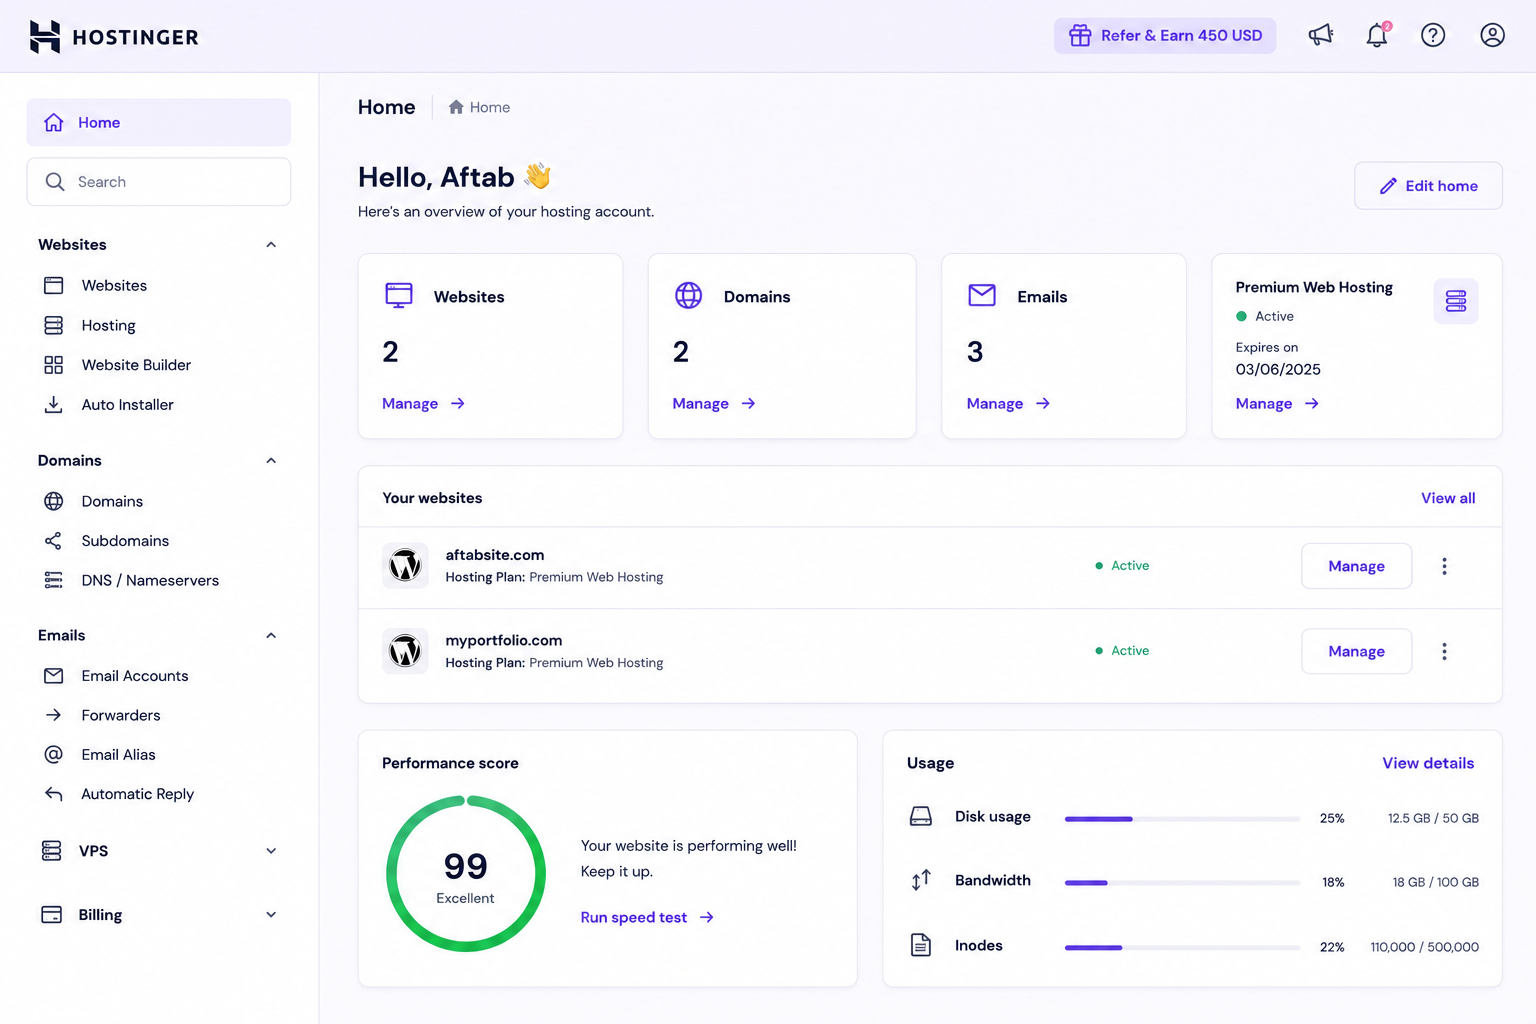
Head to Hostinger’s website and sign in with your account credentials. You’ll land on the main account dashboard, which lists any hosting plans and domains attached to your account. Click on the hosting plan you want to use for your new site, then select Manage to open hPanel — Hostinger’s custom-built control panel that replaces the traditional cPanel interface most other hosts still use.
hPanel’s layout is organized around a left-hand sidebar, with sections for Websites, Domains, Emails, Databases, and account-level settings. If this is a brand-new hosting account, Hostinger may first walk you through a short onboarding wizard asking what kind of website you’re building — you can either follow that flow directly into a WordPress install, or skip it and use the manual method below for more control over the setup details.
Step 2: Connect or Confirm Your Domain
Before installing WordPress, make sure the domain you want to use is properly attached to your hosting account. In hPanel, go to the Websites section and confirm the correct domain appears there. If you registered your domain elsewhere, you’ll need to have already pointed its nameservers to Hostinger — this step can take a few hours to propagate, so it’s worth doing well before you plan to launch.
If you don’t have a domain yet, Hostinger lets you install WordPress on a temporary subdomain first and connect a custom domain later, which is useful if you want to start building content immediately without waiting on domain propagation.
Step 3: Open the Auto Installer
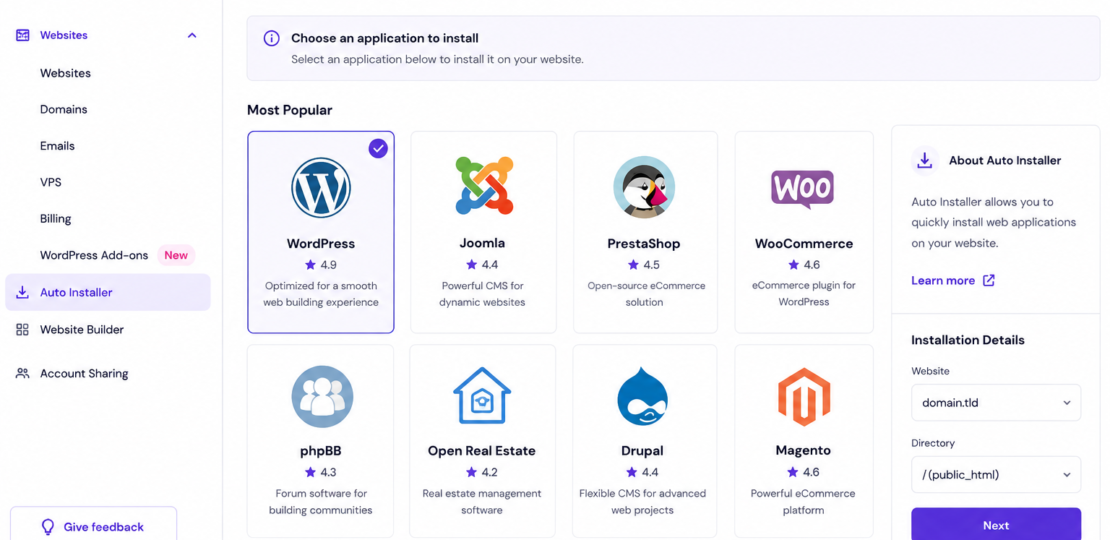
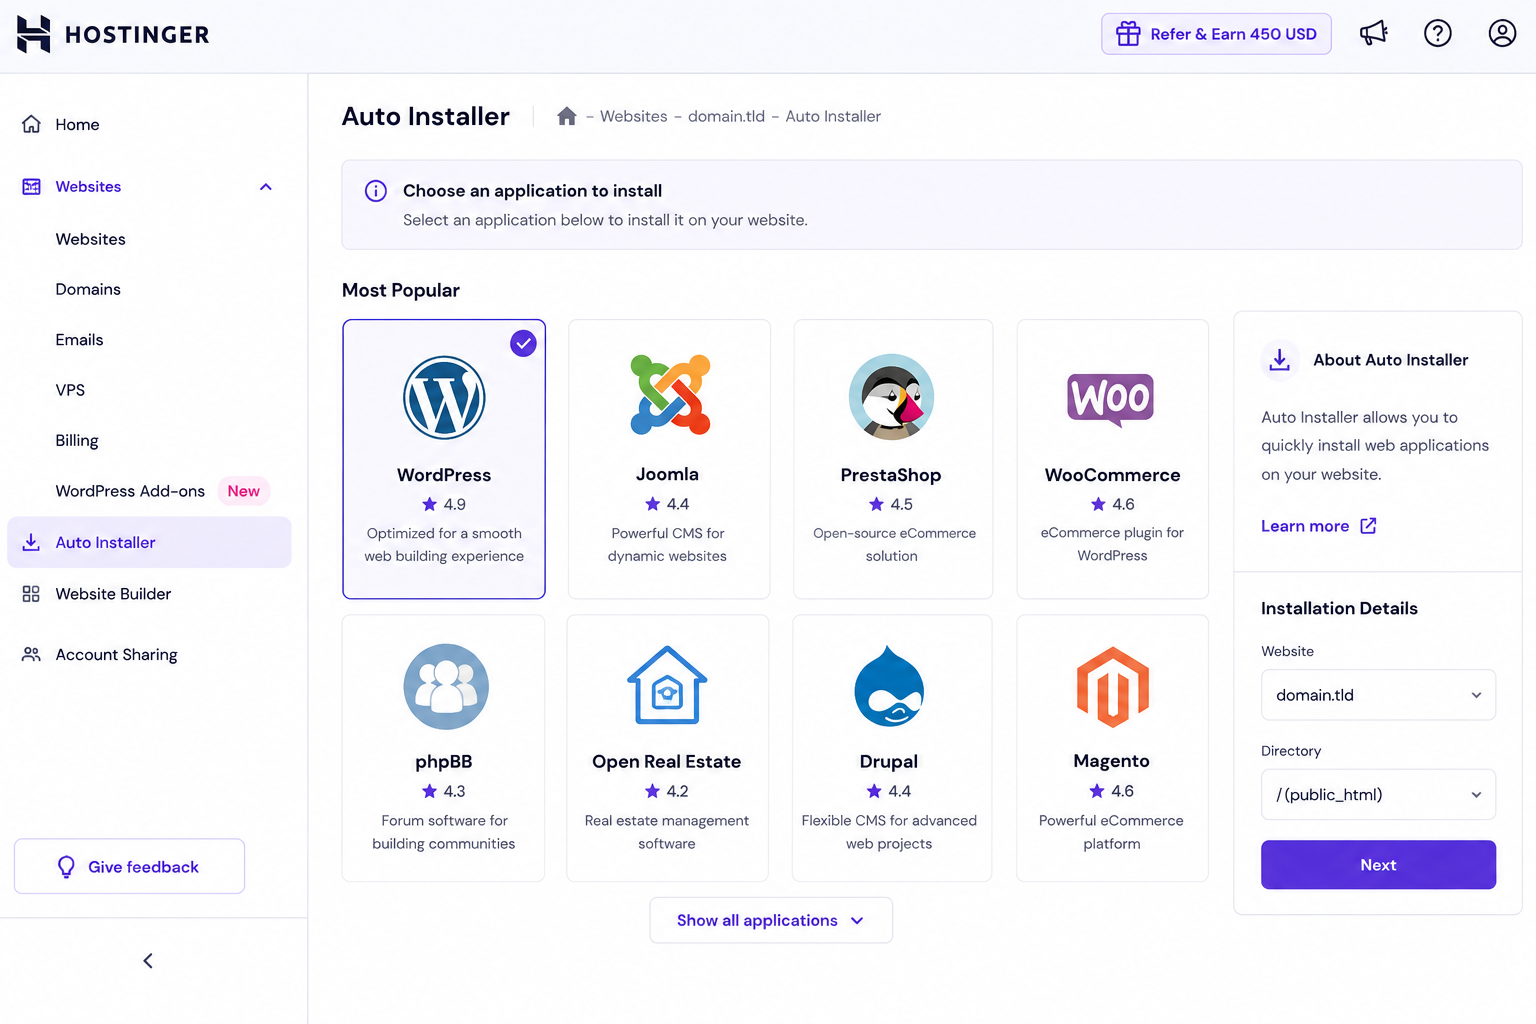
This is the core step. From the Websites section of hPanel, scroll down until you see the Website category, then click Auto Installer. This opens a searchable library of content management systems and applications Hostinger supports for one-click deployment — WordPress will typically be featured at the top given how commonly it’s installed.
Click Select on the WordPress option to begin.
Step 4: Fill in Your Installation Details
You’ll now see a setup form asking for several pieces of information. Take a moment here rather than rushing through, since some of these fields are harder to change later without extra steps:
- Domain — confirm you’re installing to the correct domain or subdomain
- Website Title — this becomes your site’s name and can usually be edited later from within WordPress itself
- Admin Username and Password — avoid the default “admin” username specifically; a custom, non-obvious username removes one of the easiest attack vectors bots use against WordPress logins
- Admin Email Address — used for password recovery and important WordPress notifications, so use one you check regularly
- Language — sets the default language for your WordPress dashboard
- WordPress Version and Update Settings — most users should leave this on automatic updates, though selecting “update only to minor version” gives you more control if you’re worried about a major update breaking a theme or plugin
Some installer versions also offer an optional starter template gallery at this stage, letting you begin with a pre-built design for common site types (blog, business, portfolio, online store) instead of the completely blank default WordPress theme.
Once everything looks correct, click Install.
Step 5: Wait for Installation to Complete
The installation process itself is quick — generally somewhere between one and three minutes, depending on server load and whether you selected a starter template with additional demo content. hPanel will show a progress indicator, and once finished, your new WordPress install will appear under Installed Applications with options to manage, edit, or remove it.
Step 6: Log In to Your WordPress Dashboard
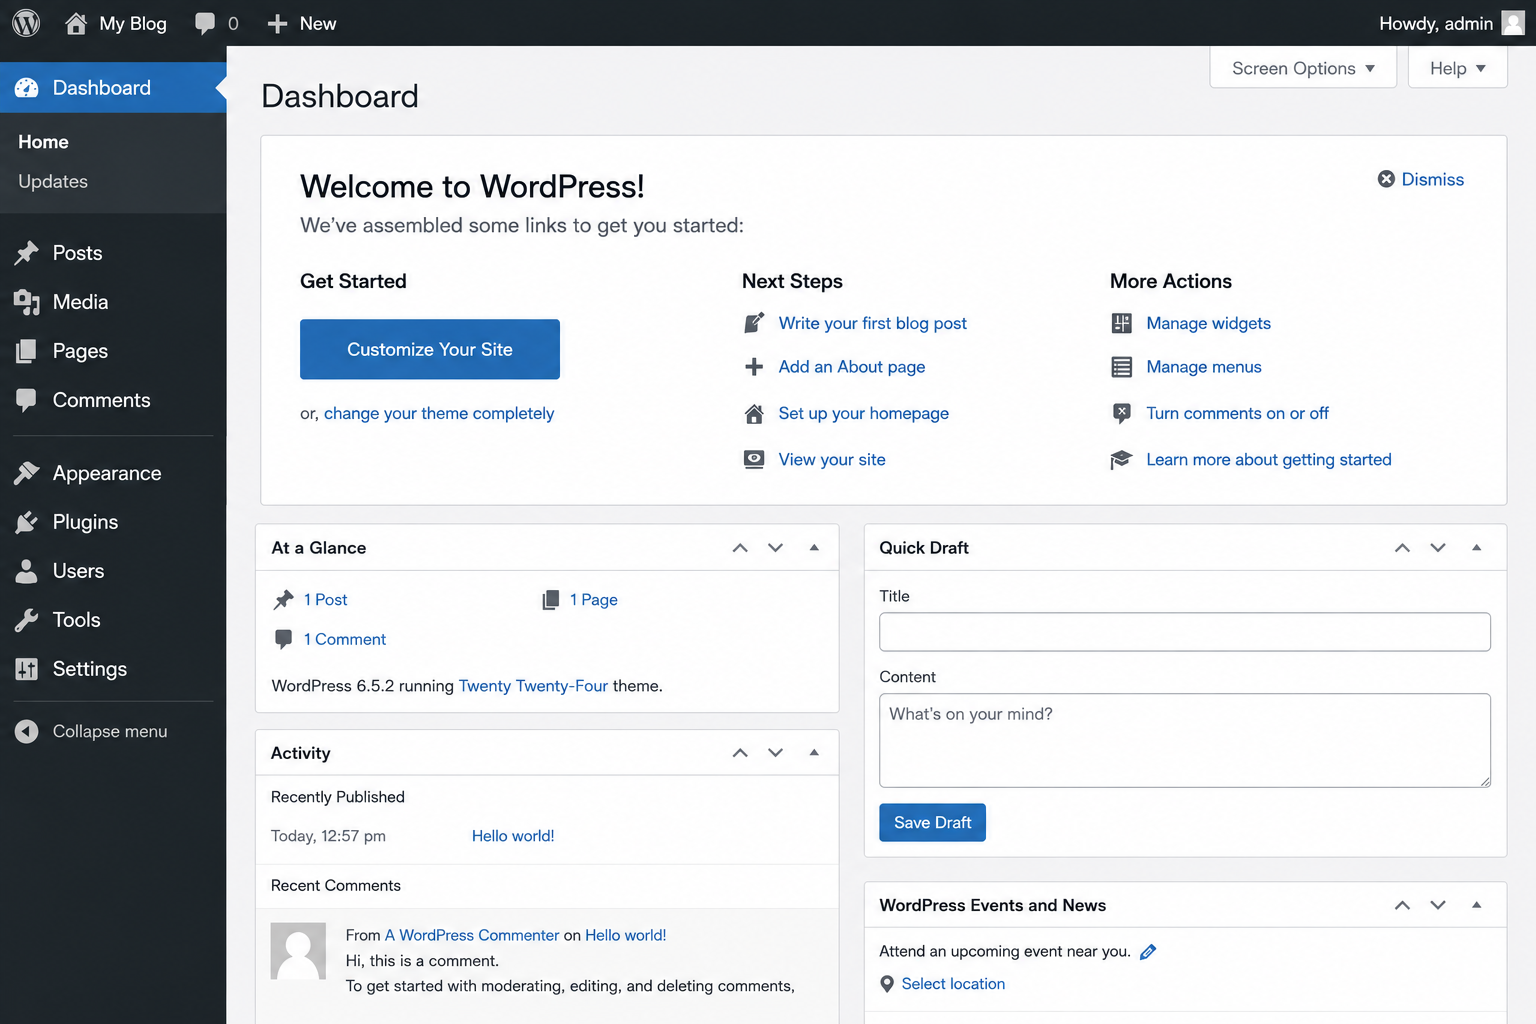
You can access your new site’s admin dashboard in two ways: type yourdomain.com/wp-admin directly into your browser, or click straight through from the Installed Applications list inside hPanel. Log in using the admin username and password you set during installation.
You’re now inside the standard WordPress dashboard, where the left-hand menu lets you create pages, publish posts, install themes and plugins, and adjust your site’s overall settings and appearance.
Step 7: Complete These Essential Post-Installation Tasks
A fresh WordPress install is functional but not fully set up. Handle these before you start publishing content:
Activate your free SSL certificate. Go to hPanel’s SSL section and make sure it’s applied to your domain. This secures visitor data and is also a factor search engines consider when ranking pages, so skipping it can quietly hurt both trust and visibility.
Enable automatic backups. In hPanel’s Backups section, confirm your plan’s backup schedule is active. If you’re on a plan tier that includes daily backups, verify the setting rather than assuming it’s already on.
Install a caching plugin. Since Hostinger runs on LiteSpeed server architecture, installing the LiteSpeed Cache plugin specifically (rather than a generic caching plugin) takes advantage of server-level caching that a standard plugin can’t access, and it’s one of the single biggest speed improvements available for a fresh WordPress site.
Add basic security hardening. A security plugin such as Wordfence adds login attempt limiting and malware scanning on top of Hostinger’s own account-level protections, giving your site a second layer of defense.
Set up SEO basics. Installing an SEO plugin early — before you’ve published dozens of pages — makes it much easier to keep titles, meta descriptions, and sitemap settings consistent from day one.
Remove the “Coming Soon” placeholder if visible. New WordPress installs on Hostinger sometimes launch with a placeholder page active. Check Settings > Reading in WordPress to confirm your site is set to display normally rather than showing a maintenance notice to visitors.
Alternative Installation Methods
The Auto Installer covers the vast majority of use cases, but Hostinger supports a few other paths worth knowing about:
- Softaculous — an alternative app installer available on some plans, offering a similar one-click experience with a slightly different interface and a broader library of non-WordPress applications
- Manual installation — uploading WordPress core files via File Manager or FTP and creating the database by hand; this is really only necessary for very specific custom configurations, since it offers no real advantage over Auto Installer for a standard site
- Onboarding wizard — shown automatically to some new accounts, this walks you through goal-based questions (blog, store, portfolio) and installs WordPress with relevant starter settings already applied based on your answers
For nearly everyone, the Auto Installer method covered above is the fastest and most reliable path, and it’s the one Hostinger itself actively maintains and recommends.
Common Issues and Quick Fixes
Site shows a “Not Secure” warning after installation.
This almost always means the SSL certificate hasn’t finished issuing yet or hasn’t been applied to the domain — check the SSL section in hPanel and allow a short window for it to activate.
Domain doesn’t load the new WordPress site.
This is typically a DNS propagation delay if you recently connected an external domain; it can take anywhere from a few minutes up to 24 hours to fully resolve.
Forgot admin password.
Use WordPress’s built-in “Lost your password?” link on the wp-admin login screen, which sends a reset link to the admin email you set during installation.
Site feels slow immediately after setup.
Confirm the LiteSpeed Cache plugin is installed and active, and check whether a starter template installed unnecessary demo plugins you don’t actually need.
Final Thoughts
Installing WordPress on Hostinger in 2026 is genuinely a beginner-friendly process — the Auto Installer handles the technical heavy lifting in a few minutes, and the real work starts afterward with the post-installation checklist above. Take the extra ten minutes to activate SSL, set up caching, and add basic security hardening before you start publishing; it’s far easier to do this on a brand-new site than to retrofit it once you’ve already built out pages and content.
RELATED POSTS
View all

Best Domain Registrars for Beginners in 2026
August 2, 2026 | by anisurrahaman235f@gmail.com
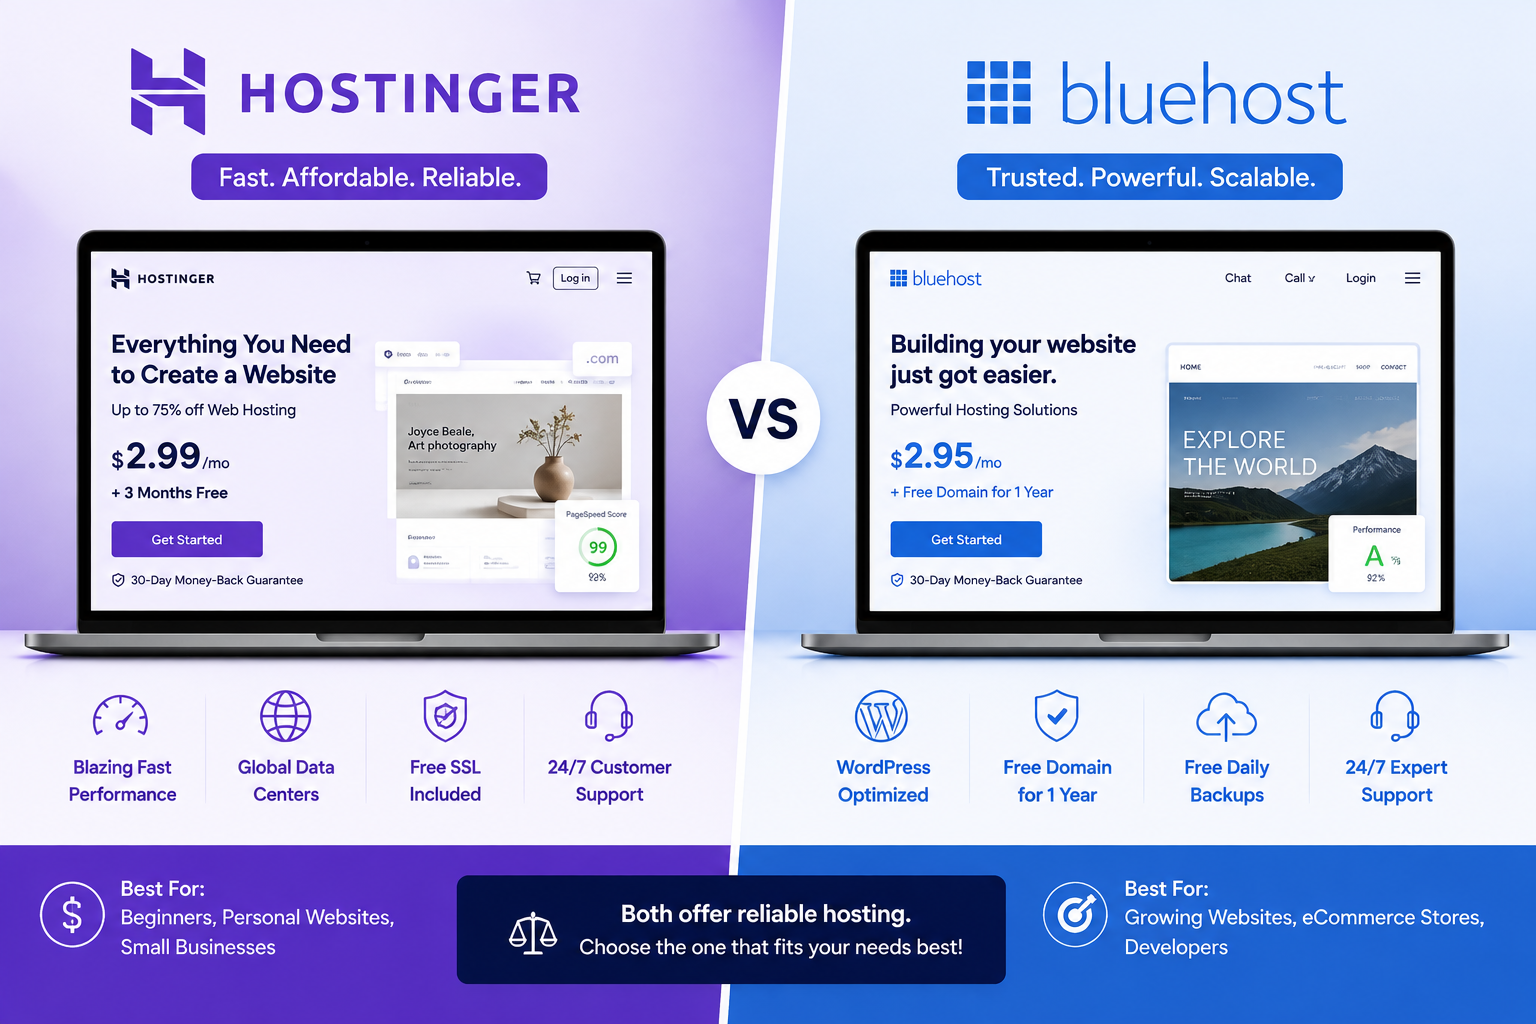
Hostinger vs Bluehost: Complete Hosting Comparison (2026)
August 1, 2026 | by anisurrahaman235f@gmail.com
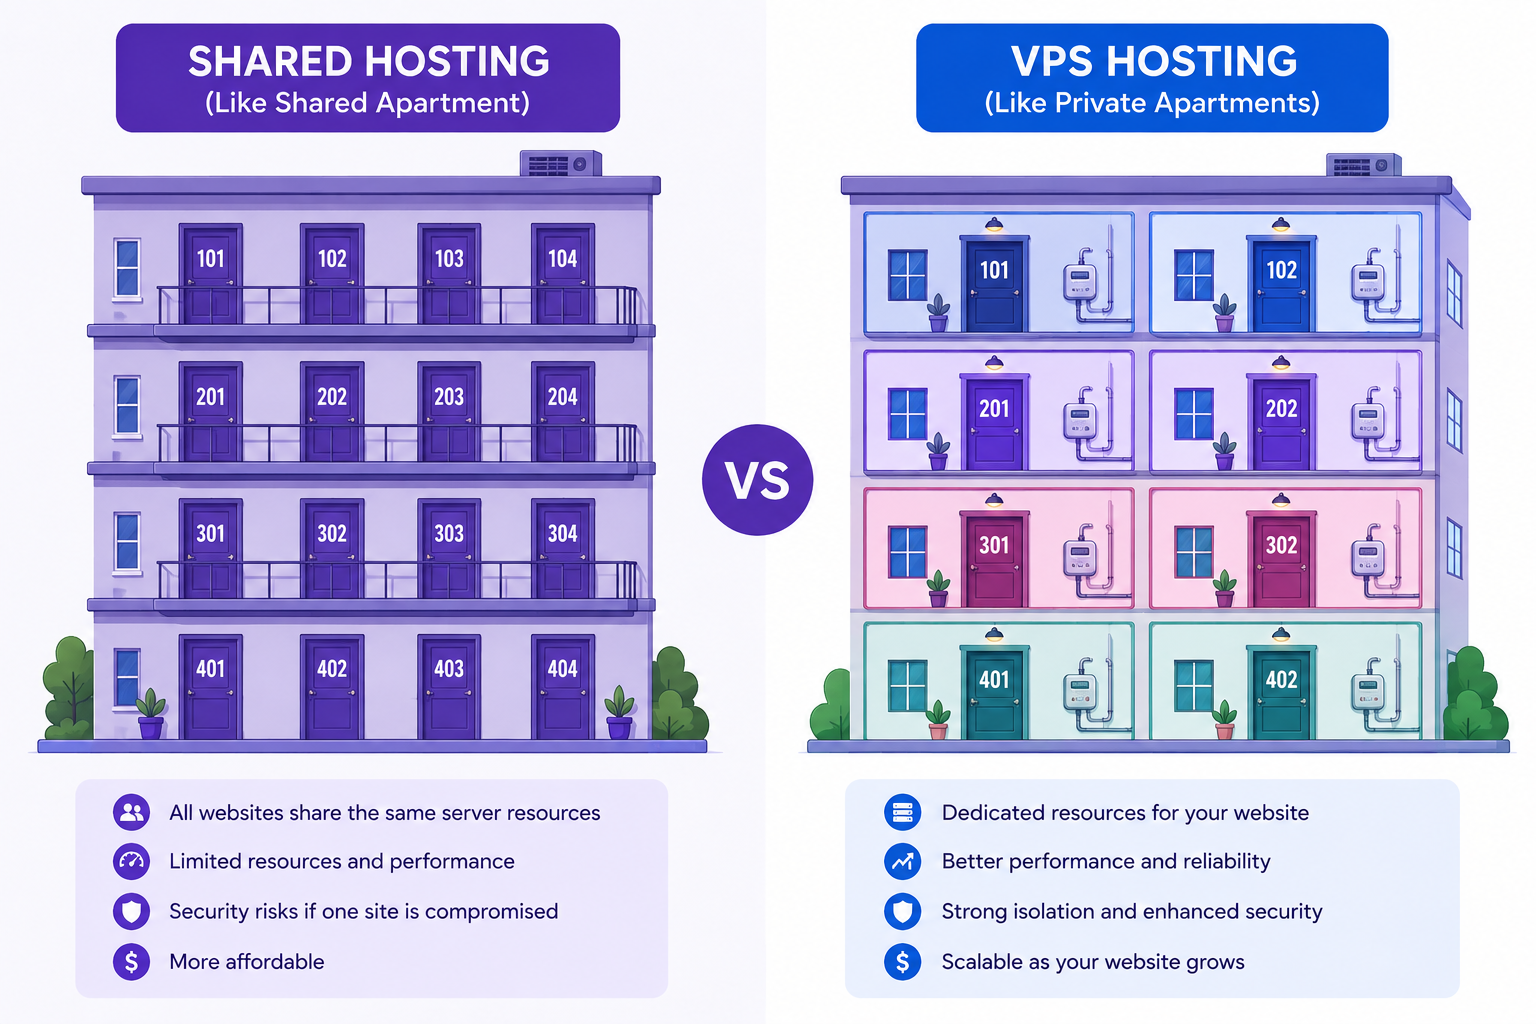
Shared Hosting vs VPS Hosting: Which One Should You Choose? (2026 Guide)
August 1, 2026 | by anisurrahaman235f@gmail.com