

How to Speed Up Your WordPress Website on Hostinger (2026 Guide)
August 2, 2026 | by anisurrahaman235f@gmail.com
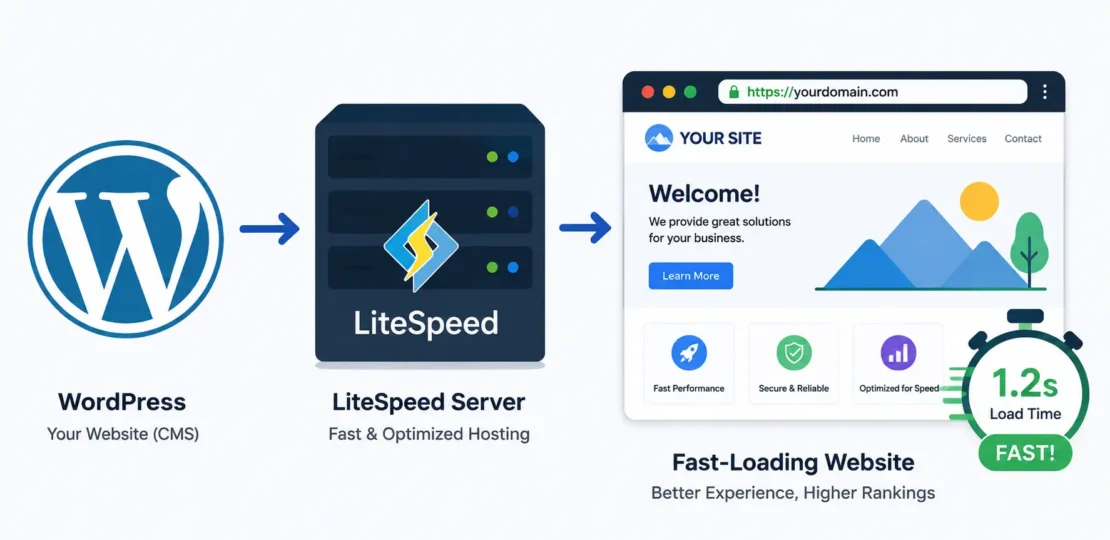
A slow WordPress site costs you more than just visitor patience. Google’s own research on user expectations shows that a large share of visitors abandon a page if it takes more than a couple of seconds to load, and page speed is a direct factor in both your search rankings and Core Web Vitals scores. If your WordPress site is hosted on Hostinger and still feels sluggish, the good news is that most of the fix isn’t about switching hosts — it’s about correctly configuring what you already have access to. This guide walks through exactly how to do that, including one specific Hostinger limitation almost no beginner guide mentions.
What Hostinger Already Gives You (And Why That Matters)
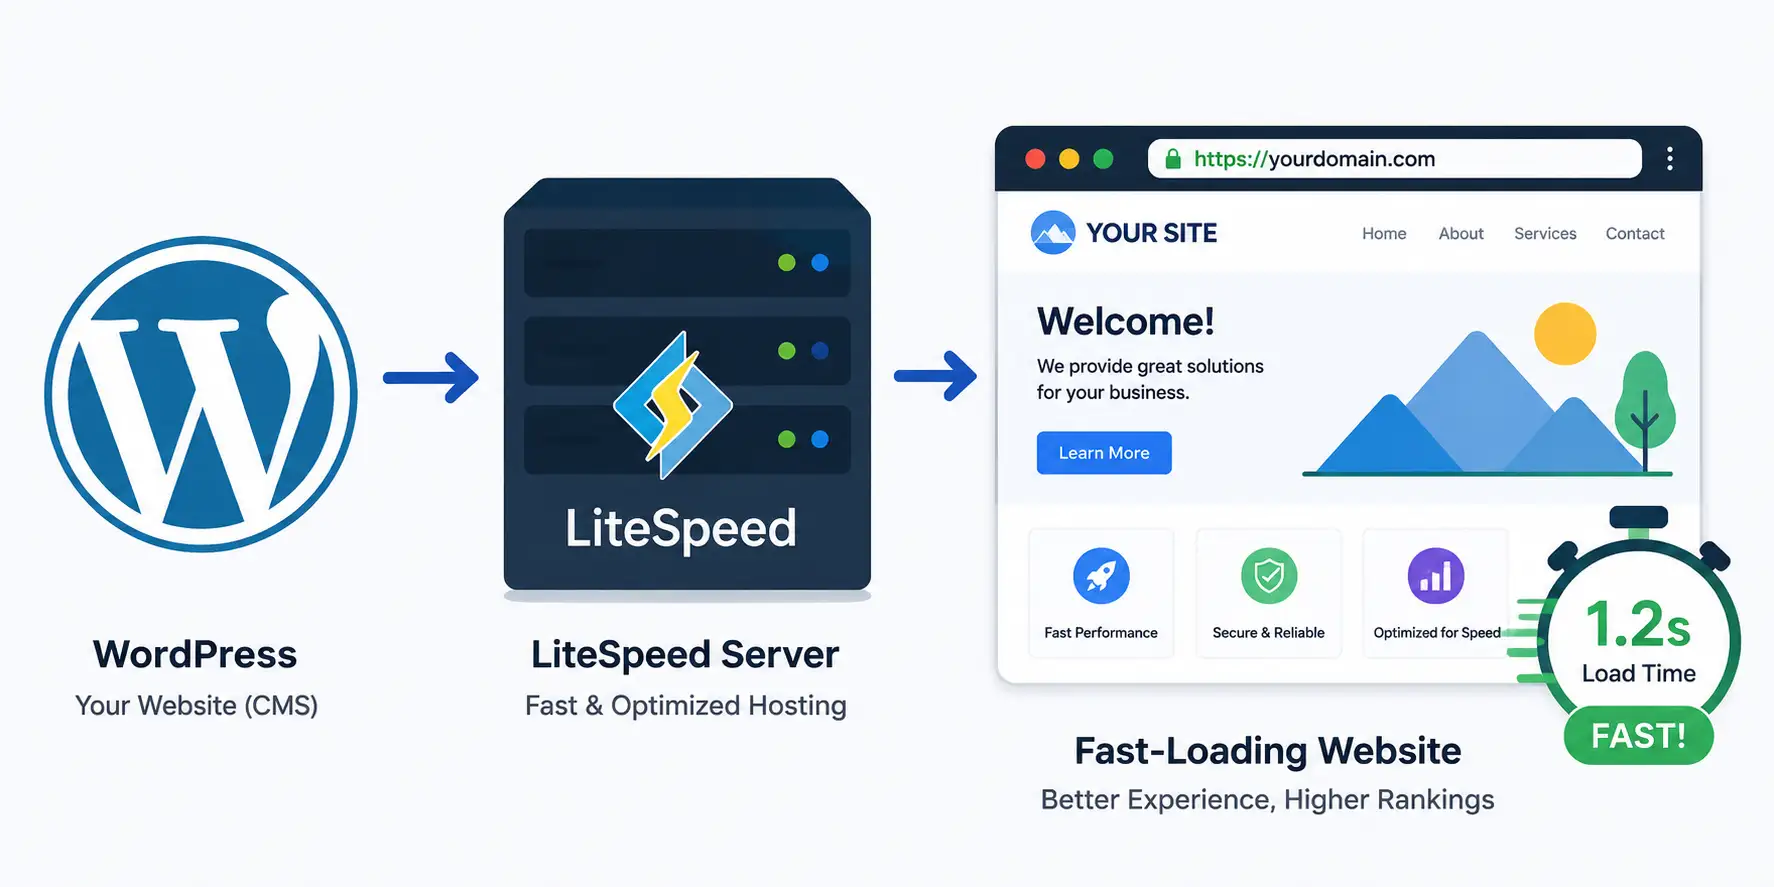
Hostinger’s hosting infrastructure runs on LiteSpeed Web Server rather than the more traditional Apache setup many competitors still use. This matters because LiteSpeed integrates directly with the free LiteSpeed Cache plugin for WordPress, enabling server-level caching that standard PHP-based caching plugins simply cannot replicate on their own. In practical terms, this means your Hostinger-hosted WordPress site already has a meaningfully faster foundation than many budget hosting environments, even before you touch a single setting. The problem is that this advantage only shows up if it’s actually configured correctly, which is where most sites are still leaving real performance on the table.
Step 1: Install and Correctly Configure LiteSpeed Cache
Since Hostinger runs on LiteSpeed servers, the official LiteSpeed Cache plugin is the correct caching tool to use, not third-party alternatives like WP Rocket or W3 Total Cache, which cannot access the same server-level caching layer. Install it from the WordPress plugin repository, then work through its core settings: enable page caching, turn on CSS and JavaScript minification, and enable browser cache headers so returning visitors load your site even faster on repeat visits.
Here’s the detail most tutorials skip entirely: Hostinger does not support LiteSpeed Cache’s object cache feature. Object caching is normally one of LiteSpeed Cache’s most powerful tools, since it stores frequently accessed database query results in memory rather than re-querying the database on every page load. On hosting providers that do support it, this can meaningfully reduce database load, especially on dynamic sites like WooCommerce stores. On Hostinger, this specific setting simply won’t function, no matter how correctly you configure it, so it’s worth not wasting time troubleshooting an object cache setup that Hostinger’s shared environment isn’t built to support. Everything else in LiteSpeed Cache — page caching, minification, image optimization, and lazy loading — works normally.
Step 2: Enable Hostinger’s Built-In CDN
A Content Delivery Network (CDN) stores cached copies of your site’s static files across multiple server locations worldwide, so visitors load your content from a server physically closer to them instead of always reaching back to your main hosting location. Hostinger includes its own CDN, available to customers on Business Web Hosting plans and above, which can be turned on directly from hPanel’s Performance section without needing a separate third-party CDN account. If your plan qualifies, enabling this is one of the simplest performance wins available, since it requires no technical configuration beyond a single toggle.
If you’re on a lower-tier plan without CDN access included, a third-party option like QUIC.cloud integrates well with LiteSpeed Cache and offers a free tier with a smaller number of global points of presence, functioning as a reasonable substitute until you upgrade your hosting plan.
Step 3: Optimize Your Images Properly
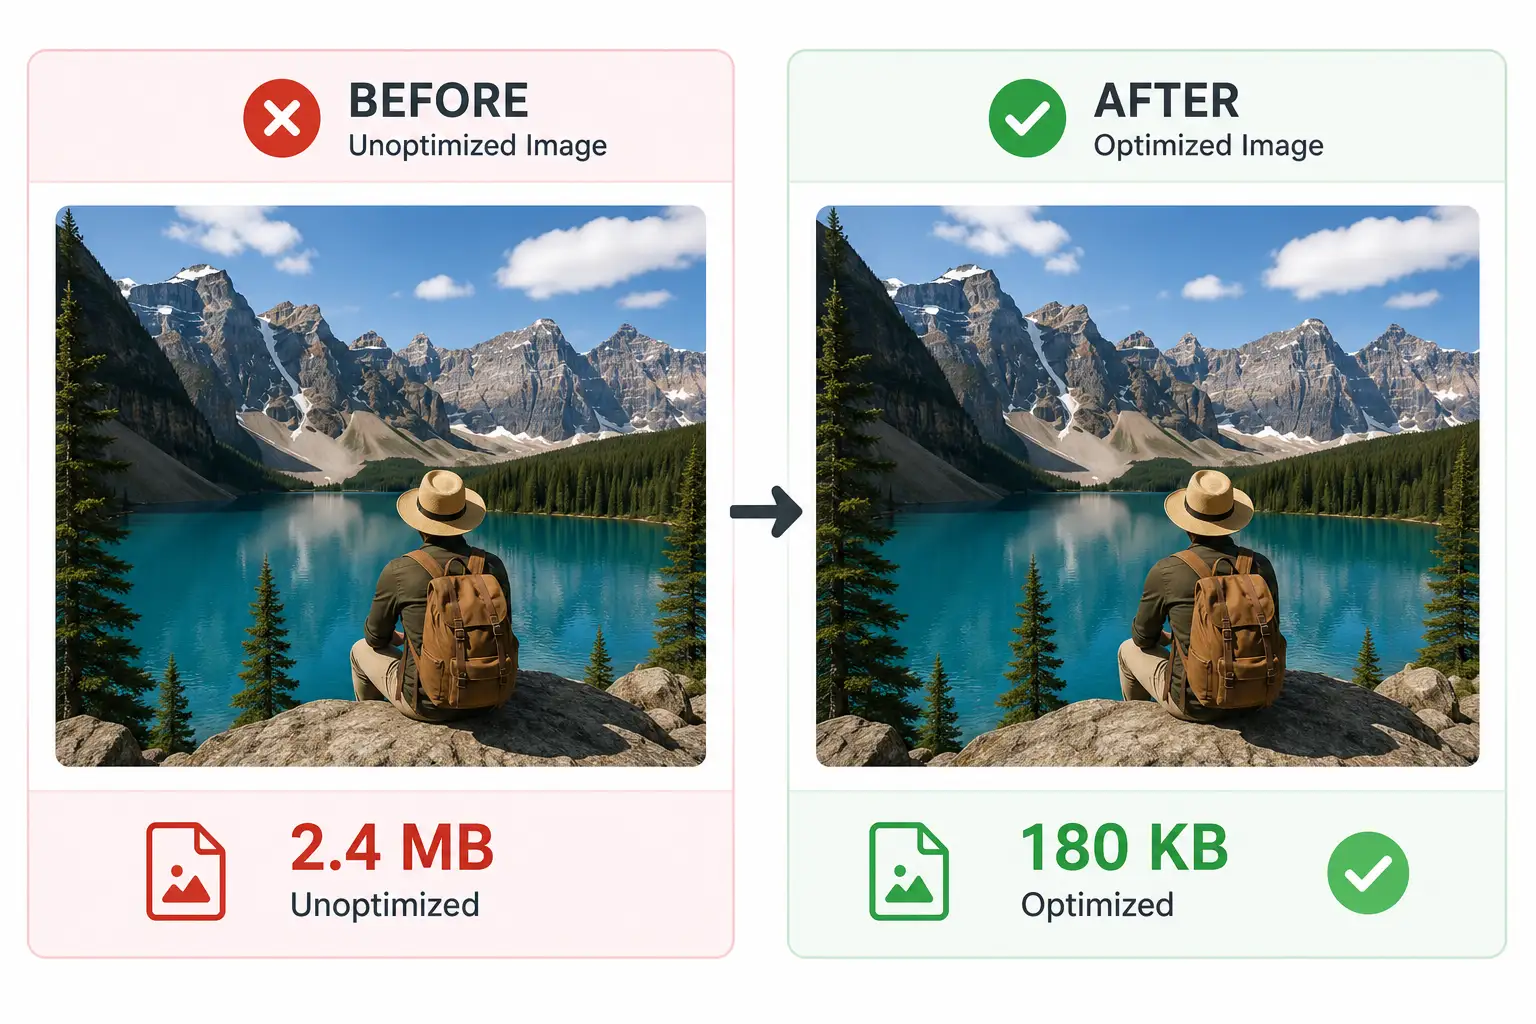
Unoptimized images are still one of the most common causes of slow WordPress sites, regardless of hosting quality. Large, uncompressed photos uploaded directly from a phone or camera can easily add several megabytes to a single page’s load weight. LiteSpeed Cache includes built-in image optimization through QUIC.cloud, which can automatically compress images and convert them to more efficient modern formats like WebP without a visible drop in visual quality. Beyond compression, make sure lazy loading is enabled so images below the visible screen area only load as a visitor scrolls down to them, rather than all loading immediately when the page first opens.
Step 4: Check and Upgrade Your PHP Version
This is a frequently overlooked, completely free performance improvement. Newer PHP versions process WordPress’s underlying code substantially faster than older versions, with PHP 8.2 or 8.3 offering a meaningful performance improvement over older releases like PHP 7.4. You can check your current PHP version in your WordPress dashboard under Tools → Site Health → Info → Server, and change it directly through hPanel’s Advanced or PHP Configuration section. Before upgrading, quickly verify that your active theme and plugins list their compatibility with the newer PHP version, though by 2026 the vast majority of actively maintained plugins support recent PHP releases without issue.
Step 5: Reduce Plugin Bloat
Every active plugin adds some amount of processing overhead, extra database queries, or additional CSS and JavaScript files that need to load. It’s worth periodically auditing your plugin list and removing anything you’re not actually using, rather than just deactivating it, since deactivated plugins can still leave leftover database entries behind. Pay particular attention to plugins that load their scripts on every page of your site regardless of whether that page actually needs them — a contact form plugin, for example, doesn’t need to load its script library on pages that don’t contain a form.
Step 6: Clean Up Your WordPress Database Regularly
Over time, WordPress databases accumulate clutter: post revisions, spam comments sitting in the trash, expired transient data, and orphaned metadata from plugins you’ve since removed. None of this is visible to visitors, but it does add unnecessary weight to every database query your site runs. LiteSpeed Cache includes a built-in database optimization tool under its Toolbox section that handles most of this cleanup safely, and running it every few months is generally enough to keep a typical WordPress database from becoming bloated.
Step 7: Delay or Remove Unnecessary Third-Party Scripts
Live chat widgets, analytics tools, advertising scripts, and social media embeds are common but often overlooked sources of slowdown, since many of them load JavaScript from external servers outside your control. Review your site’s third-party script usage through a tool like GTmetrix or Google PageSpeed Insights, both of which show a breakdown of which external scripts are contributing most to your load time. Where possible, delay loading non-essential third-party JavaScript until after your main page content has already rendered, which LiteSpeed Cache supports through its JS Delay Excludes settings.
Step 8: Test, Measure, and Repeat
After making changes, don’t just assume they worked — measure them. Use Google PageSpeed Insights to check your Core Web Vitals scores specifically, since these directly factor into search rankings, and use GTmetrix or WebPageTest for a more detailed technical breakdown of exactly what’s loading slowly. Test from a real device on a realistic connection speed as well, since lab testing tools sometimes report better results than what actual visitors experience on mobile networks.
A Realistic Expectation for Shared Hosting Users
If your site is on Hostinger’s entry-level shared hosting plan and still feels slow after working through every step above, it’s worth honestly considering whether your site has simply outgrown shared hosting’s resource limits. Shared hosting distributes CPU and memory across many websites on the same physical server, and even perfectly optimized WordPress configuration can only work within the resource ceiling your specific plan allows. If your Resource Usage numbers in hPanel are consistently near their limit, upgrading to a higher shared tier, or eventually to a VPS plan with dedicated resources, will often produce a bigger speed improvement than any additional plugin configuration at that point.
Frequently Asked Questions
Does Hostinger’s CDN work the same as Cloudflare?
They serve a similar core purpose — distributing your content across multiple global locations — but Hostinger’s built-in CDN is more tightly integrated with hPanel and requires no separate account setup, while Cloudflare offers more advanced configuration options for users who want deeper control.
Why doesn’t object caching work on Hostinger?
Hostinger’s shared hosting environment isn’t configured to support LiteSpeed Cache’s object cache feature, which requires a specific server-side caching layer that Hostinger doesn’t currently provide on its standard plans. Every other core LiteSpeed Cache feature functions normally.
Will upgrading my PHP version break my website?
It’s unlikely if your plugins and theme are actively maintained and support recent PHP versions, which most do by 2026. It’s still good practice to check compatibility and create a backup before upgrading, just in case.
How often should I run database cleanup?
For most standard WordPress sites, running LiteSpeed Cache’s database optimization tool every one to three months is sufficient to keep unnecessary bloat under control.
Final Thoughts
Speeding up a WordPress site on Hostinger mostly comes down to correctly using the tools already included with your hosting plan rather than searching for exotic third-party fixes. LiteSpeed Cache configured properly, a working CDN, compressed images, an updated PHP version, and a periodically cleaned database will resolve the vast majority of speed issues on a typical WordPress site. The one genuine limitation worth remembering is Hostinger’s lack of object cache support — once you know that going in, you can skip the wasted troubleshooting time and focus your energy on the optimizations that actually move the needle on your specific hosting plan.
This guide reflects Hostinger’s hosting infrastructure and WordPress optimization tools as of August 2026. Specific plan features and available settings may vary by hosting tier and can change over time, so it’s worth confirming current details in your own hPanel dashboard.
RELATED POSTS
View all

20 Things to Check Before Buying a Web Hosting Plan (2026)
August 2, 2026 | by anisurrahaman235f@gmail.com
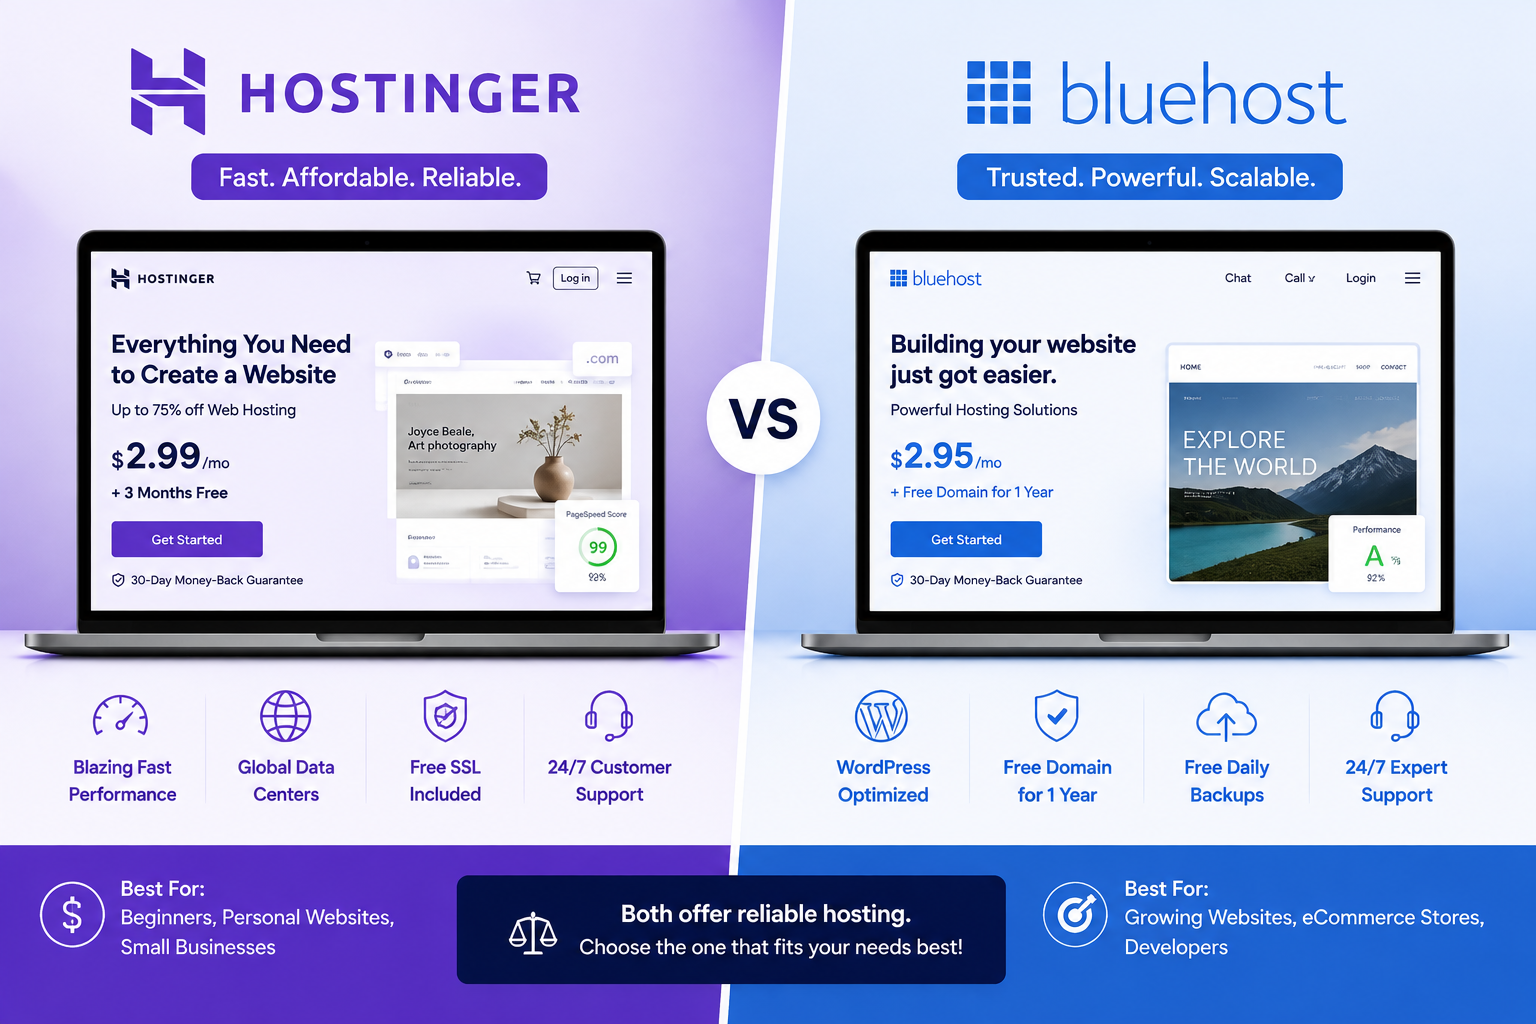
Hostinger vs Bluehost: Complete Hosting Comparison (2026)
August 1, 2026 | by anisurrahaman235f@gmail.com
Hostinger vs GoDaddy Hosting: Performance and Pricing Review (2026)
August 2, 2026 | by anisurrahaman235f@gmail.com