

How to Back Up Your Website on Hostinger (2026 Guide)
August 2, 2026 | by anisurrahaman235f@gmail.com
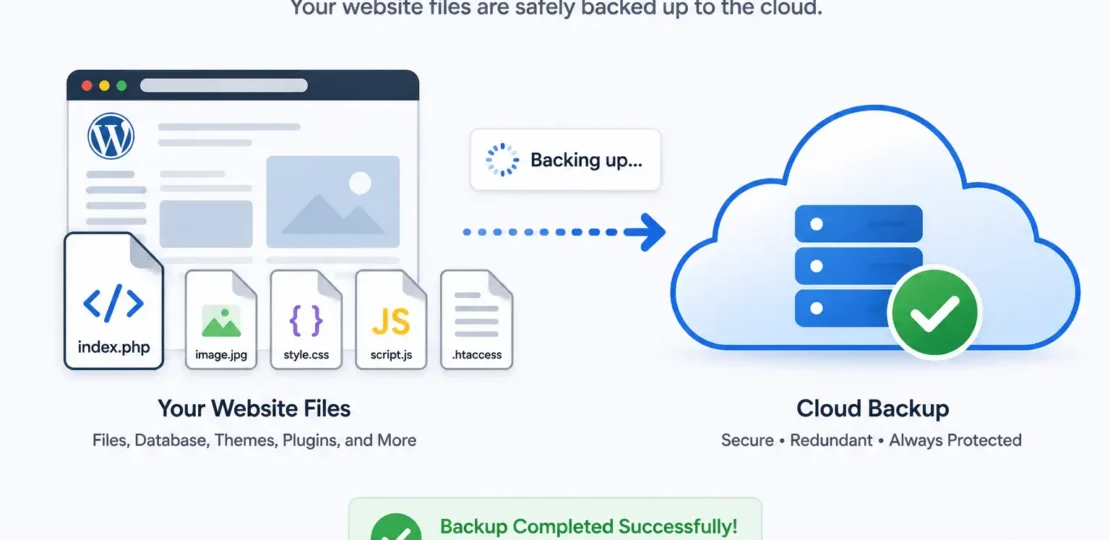
Most website owners only think seriously about backups the moment they actually need one — after a bad plugin update breaks the site, a hacked file corrupts the database, or a client accidentally deletes an entire page of content. By then, it’s too late to set anything up. The good news is that Hostinger handles a meaningful amount of backup work automatically, but understanding exactly what’s covered, what isn’t, and how to take control of the process yourself is the difference between a five-minute fix and a genuine disaster.
This guide covers how Hostinger’s backup system actually works in 2026, how to create and download backups manually, how to restore your site when something goes wrong, and where the automatic system has limits worth knowing about in advance.
How Hostinger’s Automatic Backups Work
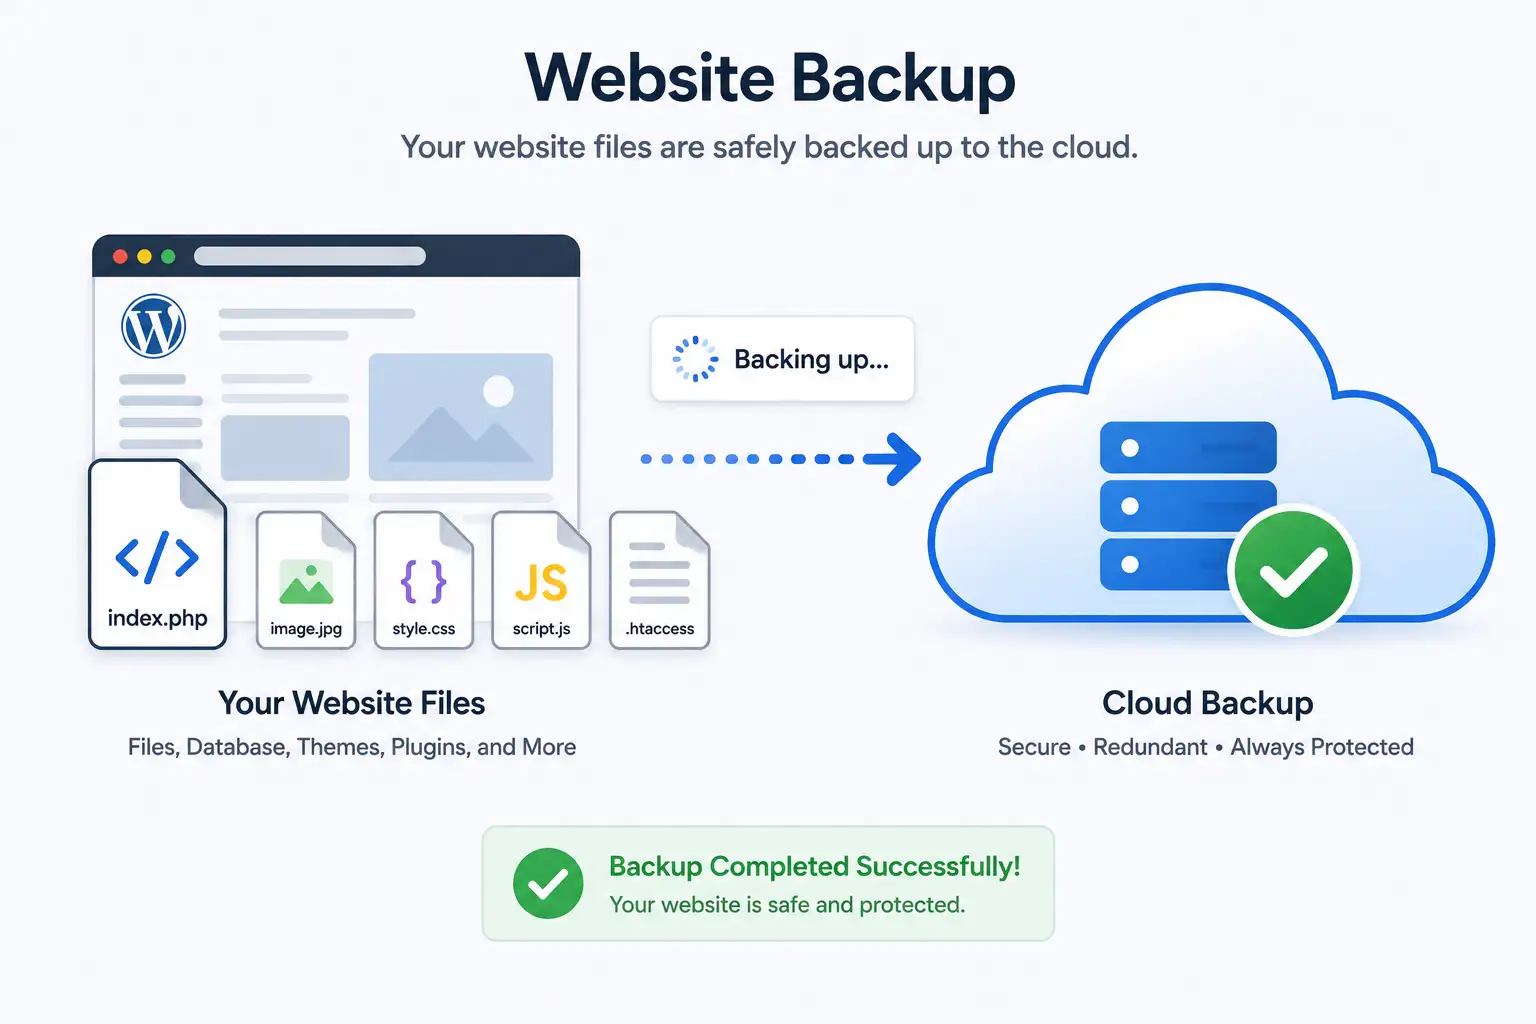
Hostinger builds automatic backups directly into hosting plans, but the frequency depends entirely on which plan you’re on. Lower shared hosting tiers typically receive weekly automatic backups, while higher tiers — generally Business plans and above — get daily automatic backups. The very first backup is usually generated shortly after your site is published, with subsequent backups running on that schedule without any action needed from you.
It’s worth checking your specific plan’s backup frequency directly in hPanel rather than assuming, since Hostinger has adjusted these tiers over time and the exact cutoff between weekly and daily backups can vary depending on when you signed up and which regional plan structure applies to your account.
Step 1: Locate the Backups Section in hPanel
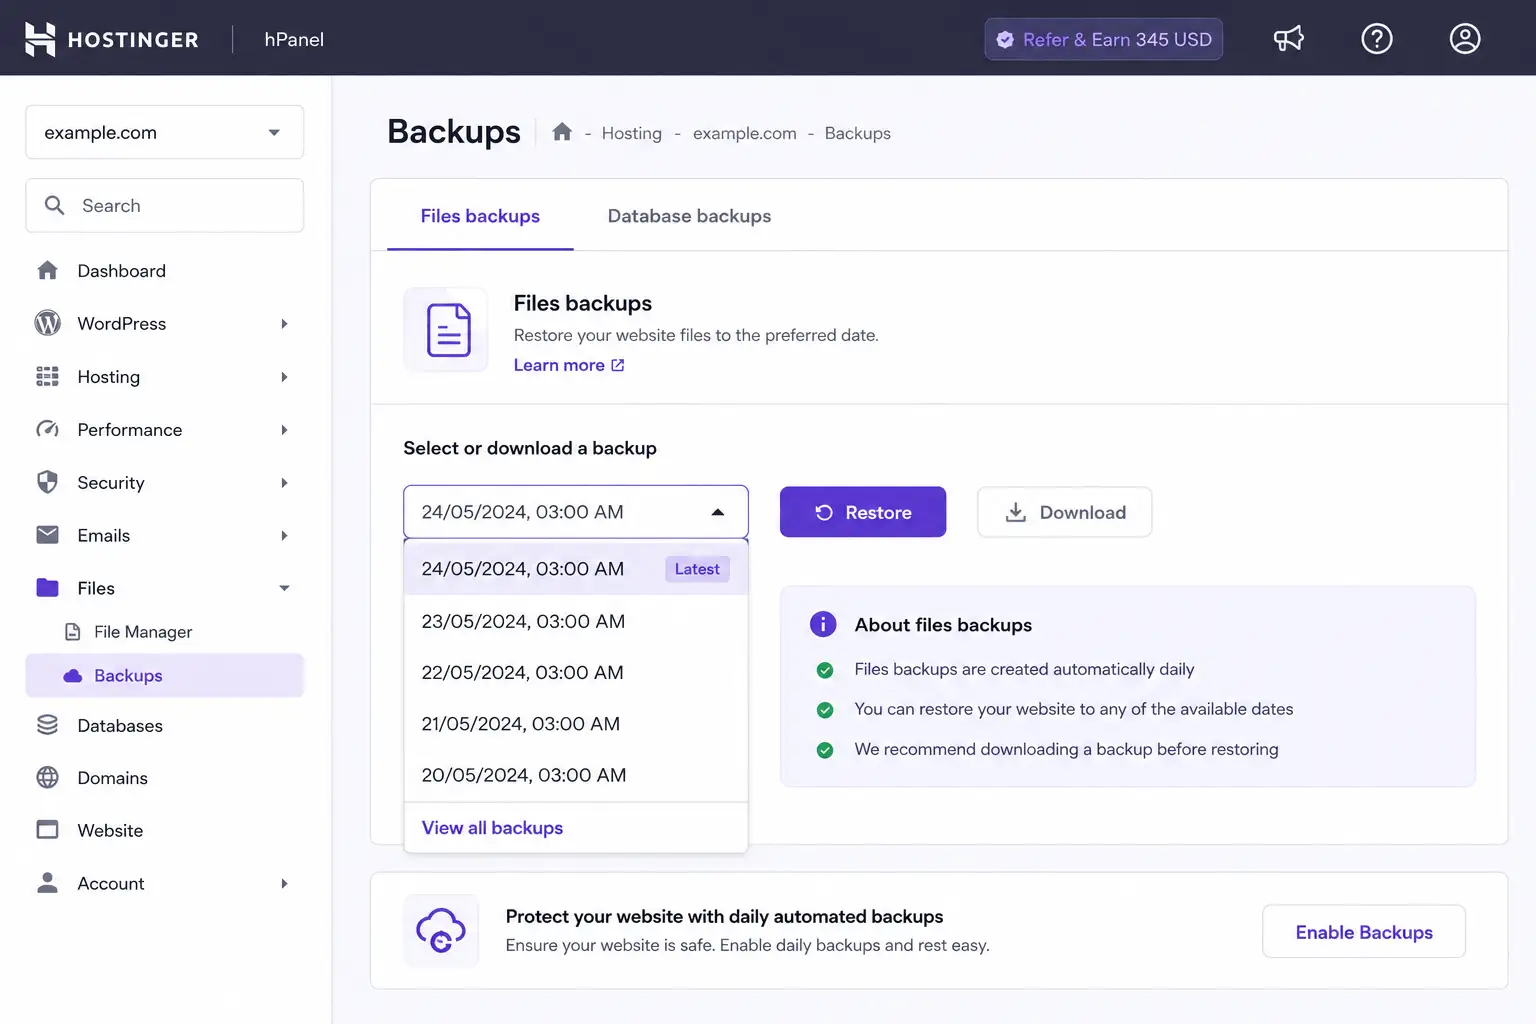
Log in to your Hostinger account and open hPanel. From here, there are two slightly different paths depending on what you’re trying to do:
- For general file and database backups, go to Files → Backups in the left-hand sidebar
- For a WordPress-specific one-click restore experience, go to Websites, select your site, click Dashboard, then look for Backups in that site’s sidebar menu
Both paths lead to the same underlying backup system, but the WordPress-specific route is generally faster if you’re only trying to undo a recent change on a WordPress install rather than managing raw files and databases separately.
Step 2: Generate a Manual Backup (Before You Need It)
Automatic backups are useful, but relying on them exclusively means you’re always working with whatever the last scheduled snapshot happened to catch — not necessarily right before the specific change you’re worried about. Before doing anything risky to your site (a major plugin update, a theme change, bulk content edits), it’s good practice to create a fresh manual backup first.
In the Backups section, look for the Generate new backup option and select it. Hostinger will prepare a current snapshot of your files and database. One important limitation to know: Hostinger generally allows only one manually generated backup within a 24-hour period, so this isn’t something you can spam repeatedly throughout the day — plan for it before major changes rather than as a constant safety net.
Step 3: Download a Backup Copy to Your Own Device
Relying solely on backups stored on Hostinger’s own servers means that if something happens to your entire account — rather than just your site’s files — you don’t have an independent copy elsewhere. Downloading periodic copies to your own computer or a separate cloud storage service is a smart extra layer of protection.
To download a backup:
- Go to Files → Backups in hPanel
- Under Files backups, click Select
- Choose the backup date you want from the dropdown menu
- Click Next step
- Choose Download all files to begin downloading the complete file backup to your device
For the database specifically, repeat a similar process under the Database backups tab, selecting the relevant date and choosing to download rather than restore directly.
Storing at least one recent downloaded copy somewhere completely separate from your hosting account — an external drive, a personal cloud storage account, or a dedicated backup service — protects you even in the unlikely event of a hosting-account-level issue rather than just a site-level one.
Step 4: Restoring Files From a Backup
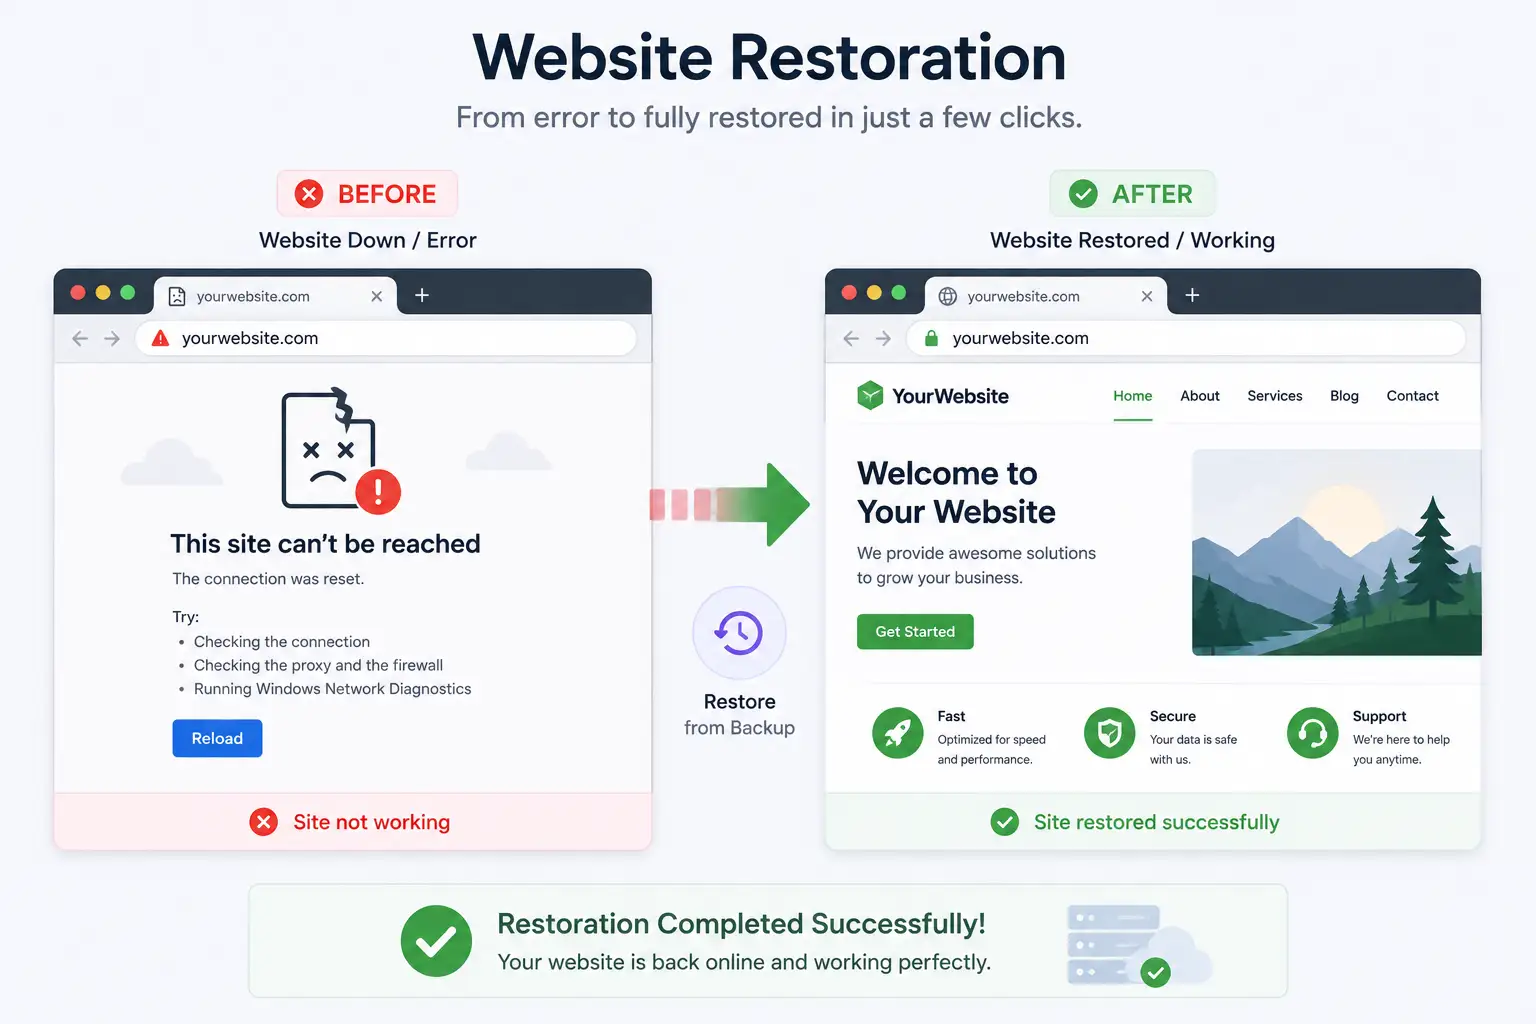
If something has gone wrong and you need to roll back your site’s files to an earlier state, Hostinger’s built-in restore tool handles this without needing to manually re-upload anything.
- In hPanel, go to Files → Backups
- Under Files backups, click Select
- Choose the specific backup date you want to restore from the dropdown
- Click Next step
- Select the specific files (or the full backup) you want restored
- Click Restore files
Hostinger will process the restoration and return the selected files to the state they were in at that backup’s timestamp.
Step 5: Restoring a Database From a Backup
Files and databases are handled as separate backup systems in hPanel, which matters if your issue is specifically database-related (a corrupted table, a bad plugin that altered content unexpectedly) rather than a file-level problem.
- Go to Files → Backups
- Select the Database backups tab
- Choose the backup date you need and click Show databases
- Select the specific database you want to restore
- Click Restore, then wait for the process to complete
Because files and databases restore independently, it’s possible to restore just one without touching the other — useful if only one side of your site actually needs rolling back.
Step 6: Using the One-Click WordPress Restore Tool
If you’re specifically running WordPress, Hostinger offers a more streamlined restore path built directly into the site dashboard rather than the general Files section, which combines both files and database into a single restore action:
- Log in to hPanel and go to Websites
- Find the site you want to restore and click Dashboard
- Locate Backups in the sidebar menu
- Select Restore Website
- Choose from the available recent backup dates shown in the dropdown — Hostinger typically displays the seven most recent backup dates, often alongside a preview screenshot of what the site looked like at that point
- Click Restore, and confirm the warning that appears about overwriting current site data
This last warning matters more than it might seem: restoring a backup reverts your site entirely to that snapshot’s state, meaning any changes made after that backup date — new posts, comments, orders, settings changes — will be lost in the process. Always double-check the date you’re selecting before confirming.
An Important Exception: Hostinger Website Builder
If your site was built using Hostinger Website Builder rather than standard WordPress or file-based hosting, the backup and restore process described above does not apply. Website Builder uses its own separate backup and restore system within its own interface, since it doesn’t store your site as traditional files and databases the way standard hosting does. If you’re using Website Builder, look specifically within that tool’s own settings rather than the general hPanel Backups section.
Should You Also Use a Third-Party Backup Plugin?
Hostinger’s built-in system covers most everyday needs, but many experienced WordPress site owners still layer a dedicated backup plugin — such as UpdraftPlus — on top of it. The reasoning is straightforward: a plugin-based backup can push copies directly to external destinations like Google Drive or Dropbox on a schedule you control, independent of your hosting account entirely. This isn’t strictly necessary for a small personal site, but for anything business-critical, having backups that exist completely outside your hosting provider’s infrastructure is a meaningful extra safeguard rather than a redundant one.
Best Practices for a Reliable Backup Routine
- Generate a manual backup before any major change — plugin updates, theme switches, bulk edits — rather than relying only on the automatic schedule’s timing
- Download and store at least one backup externally on a regular basis, not just leave everything sitting inside your hosting account
- Confirm your specific plan’s automatic backup frequency in hPanel rather than assuming, since it varies by tier
- Test a restore occasionally on a non-critical change so you’re familiar with the process before you’re doing it under pressure
- Check the backup date carefully before restoring, since the process overwrites everything created after that snapshot
Final Thoughts
Backups are one of those things that feel unnecessary right up until the exact moment they’re the only thing standing between you and losing weeks of work. Hostinger’s built-in system in hPanel covers the essentials well — automatic scheduling, manual generation, and a genuinely simple restore process for both files and databases. The extra effort worth putting in yourself is making sure at least one copy exists somewhere outside Hostinger’s own infrastructure, and getting into the habit of generating a fresh manual backup before anything risky, rather than trusting the automatic schedule to have caught the right moment.
RELATED POSTS
View all

20 Things to Check Before Buying a Web Hosting Plan (2026)
August 2, 2026 | by anisurrahaman235f@gmail.com
Hostinger vs Bluehost: Complete Hosting Comparison (2026)
August 1, 2026 | by anisurrahaman235f@gmail.com
Hostinger vs SiteGround: Which Hosting Provider Is Better? (2026)
August 1, 2026 | by anisurrahaman235f@gmail.com