

How to Create a Website with Hostinger in 2026
August 2, 2026 | by anisurrahaman235f@gmail.com
Building a website used to mean choosing between hiring a developer or spending weeks learning code. In 2026, that’s no longer true, and Hostinger is one of the platforms leading that shift, thanks to a genuinely capable AI website builder alongside its more traditional WordPress hosting option. This guide walks through the entire process from scratch, covering both paths, so you can choose the one that actually fits your project instead of just following whichever tutorial video shows up first.
Step 1: Decide What Kind of Website You’re Actually Building
Before touching any signup form, it’s worth spending two minutes thinking about what you need, because Hostinger genuinely offers different tools depending on the answer. A simple portfolio, small business site, or landing page is usually best suited to the AI Website Builder, which can generate a working draft from a short text description in minutes. A blog, content-heavy site, or anything you plan to scale significantly over time is usually better served by WordPress, which offers far more long-term flexibility through plugins and themes. An online store with more complex product management needs benefits from Hostinger’s dedicated eCommerce builder. And for a more app-like project — something closer to a web tool than a traditional website — Hostinger Horizons, the platform’s prompt-to-app AI builder, is the more appropriate choice.
Step 2: Choose a Plan and Sign Up
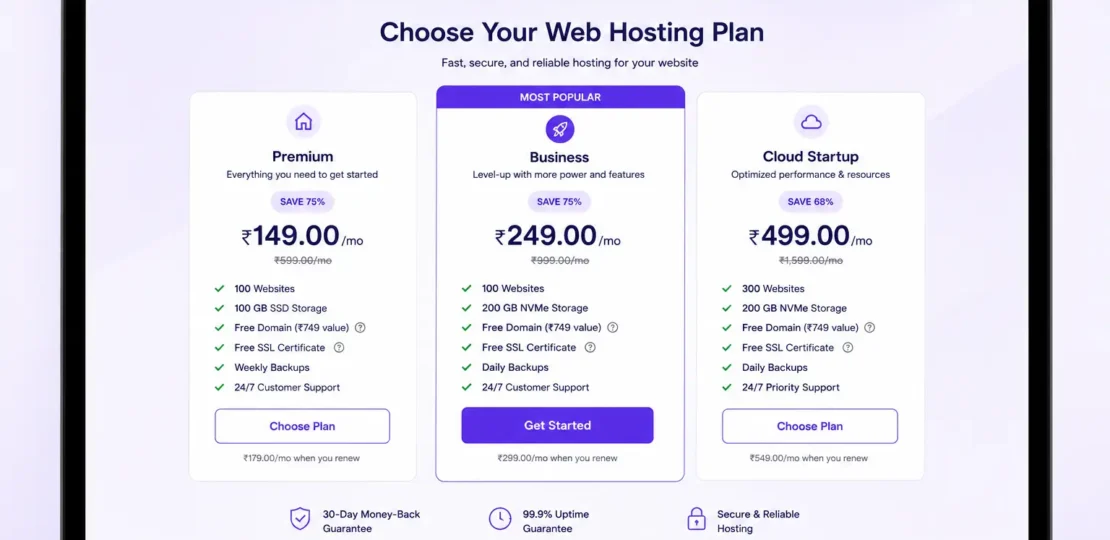
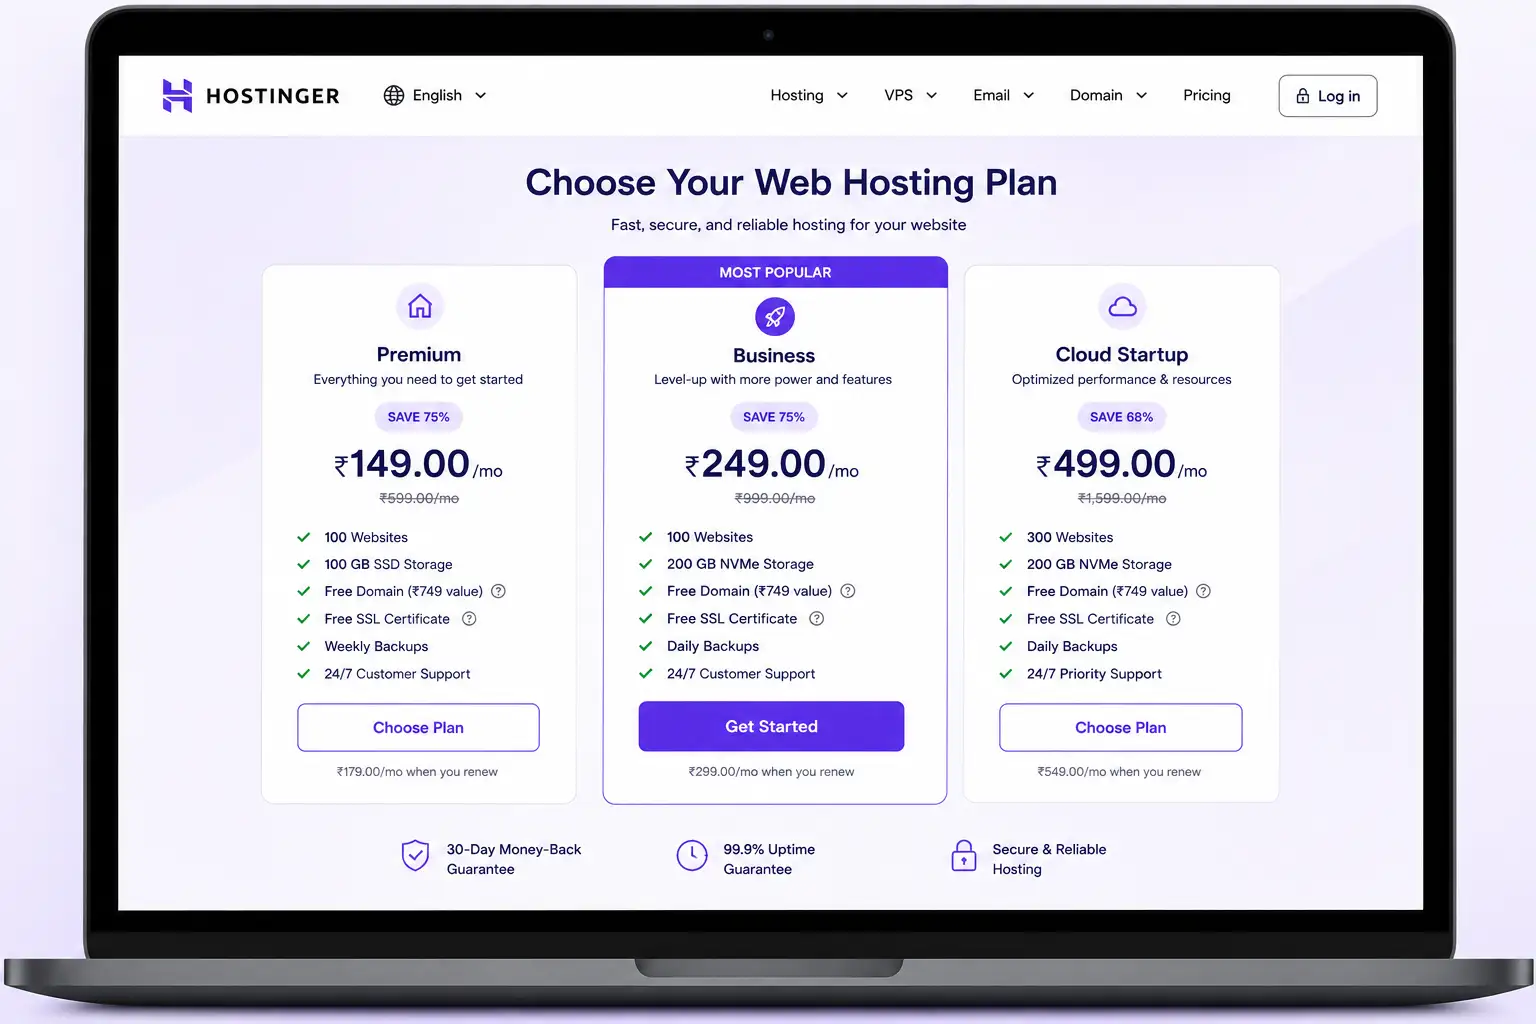
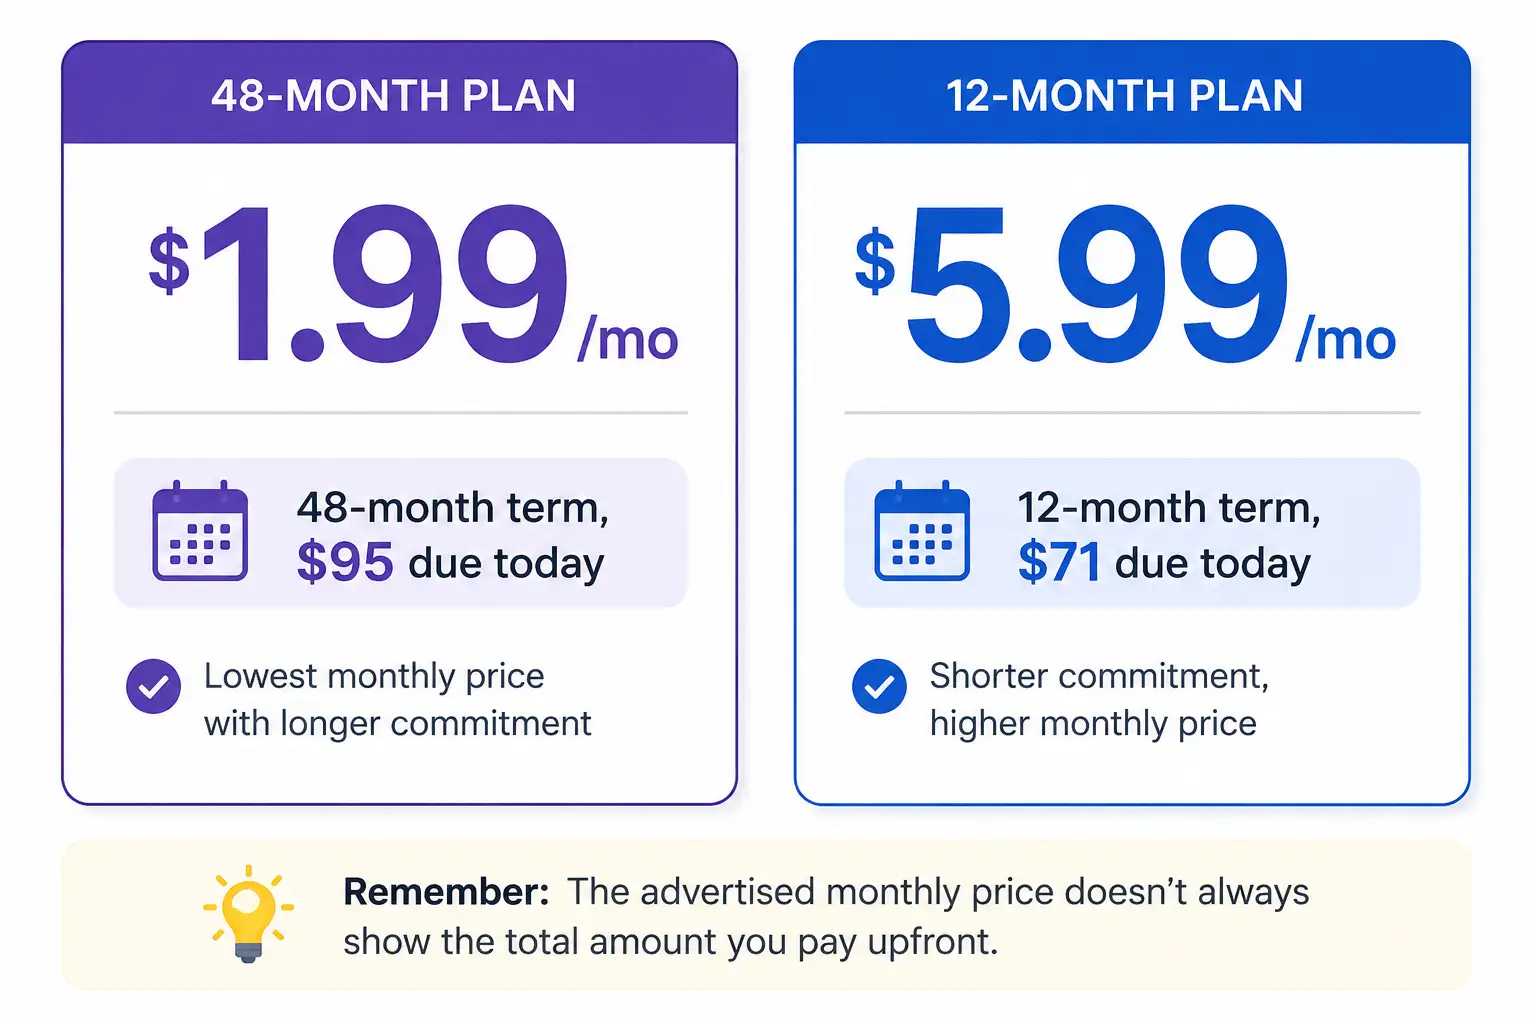
Hostinger’s plans are generally organized by how many websites you plan to run and how much traffic you expect. For a single new website, an entry-level shared hosting or website builder plan is almost always sufficient to start, and you can upgrade later without rebuilding anything from scratch. During signup, you’ll be prompted to either register a new domain name or connect one you already own, along with choosing your billing term. Longer terms lower your monthly cost but require a larger upfront payment, so it’s worth deciding your budget comfort level before selecting a term length.
Step 3A: Building Your Site with the AI Website Builder
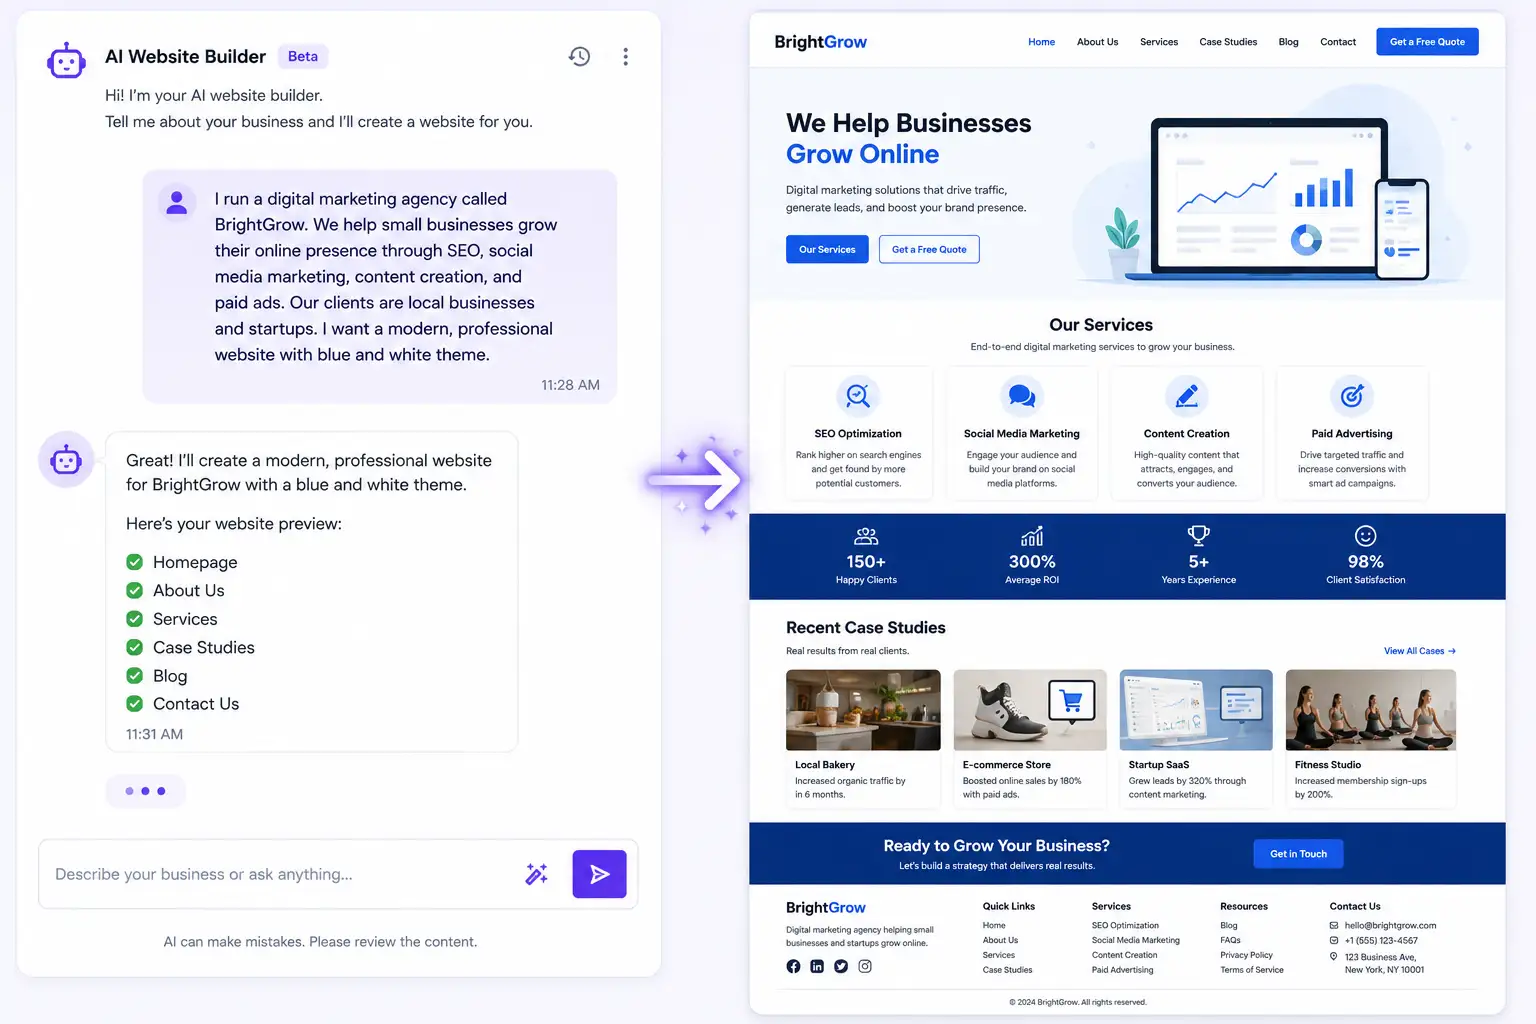
If you’ve chosen the AI path, the process starts differently than most website builders you may have used before. Rather than asking you a long series of setup questions, Hostinger’s AI Website Builder asks you to describe your project in a single prompt, generally recommended to stay within roughly 500 to 600 characters to comfortably fit the tool’s 700-character limit.
A well-written prompt usually includes a few specific pieces of information: what your business or project actually does, who your target audience is, what tone or style you’re going for, and any specific pages you know you’ll need. Vague prompts tend to produce more generic results, while a focused, detailed prompt gives the AI more to work with when generating your site’s structure and content.
Once you submit your prompt, the builder generates a custom sitemap describing the pages and sections your site needs, then produces a full first draft, typically including core pages like Home, About, Services, and Contact. Unlike older AI builders that relied heavily on filling pre-made templates, Hostinger’s current AI engine generates unique content and layout variations for each section, which reduces the risk of your finished site looking like a copy of someone else’s.
After the initial draft is generated, you get two different ways to refine it: a traditional drag-and-drop editor for manually adjusting layouts, colors, fonts, and content, or a conversational “vibe coding” mode where you keep chatting with the AI to reshape the site through further prompts. The builder automatically selects which editing experience suits your project based on your original prompt, though you can generally switch between both as needed. Editing text or images directly on the page doesn’t use up any additional AI generation credits, which matters if your plan has a prompt limit.
Step 3B: Building Your Site with WordPress
If you’ve chosen WordPress instead, the setup happens through hPanel, Hostinger’s custom control panel. From the Hosting section, you can install WordPress with a single click rather than manually downloading and configuring it yourself, and Hostinger’s hosting environment comes pre-optimized for WordPress performance, including built-in caching that reduces database load without any manual configuration on your part.
Once WordPress is installed, you’ll choose a theme, which controls your site’s overall visual structure, and begin building out your pages using either the default WordPress block editor or a page-builder plugin if you prefer more design flexibility. This path takes longer to get a finished result compared to the AI builder, but it gives you significantly more long-term control, a much larger ecosystem of plugins for adding features later, and generally more flexibility if your site is going to grow into something more complex over time.
Step 4: Filling In Your Core Content
Regardless of which path you chose, every website needs the same foundational content before it’s ready to publish. At minimum, plan for a clear homepage that explains what your site or business actually offers, an About page that builds trust with new visitors, a Contact page with a working contact method, and depending on your project, either a Services or Products page. If you’re using the AI builder, most of this content gets drafted automatically based on your original prompt, but it’s worth reading through every generated page carefully rather than publishing it unedited, since AI-generated copy can occasionally include generic phrasing or minor inaccuracies about your specific business that only you would catch.
Step 5: Basic SEO Setup Before Launch
Both the AI Website Builder and WordPress installations through Hostinger include tools to help your site get found through search. Hostinger’s website builder automatically applies basic search engine optimization to generated content, including structured page titles and meta descriptions, while WordPress users typically add an SEO plugin for more granular control over these same elements. Either way, before going live, it’s worth double-checking that each page has a clear, unique title, that your homepage clearly states what your site offers within the first few lines of visible text, and that any images have descriptive alt text, since this affects both search visibility and accessibility for visitors using screen readers.
Step 6: Connecting Your Domain and Going Live
If you registered your domain through Hostinger during signup, this step usually happens automatically in the background. If you’re connecting a domain purchased elsewhere, you’ll need to update that domain’s DNS settings to point to Hostinger’s servers, a process that can take anywhere from a few minutes up to about 48 hours to fully complete across the internet. Once your domain is properly connected and your SSL certificate — which enables the secure padlock icon in browsers — is active, usually applied automatically, your site is ready to be published live.
Step 7: What to Do Right After Launch
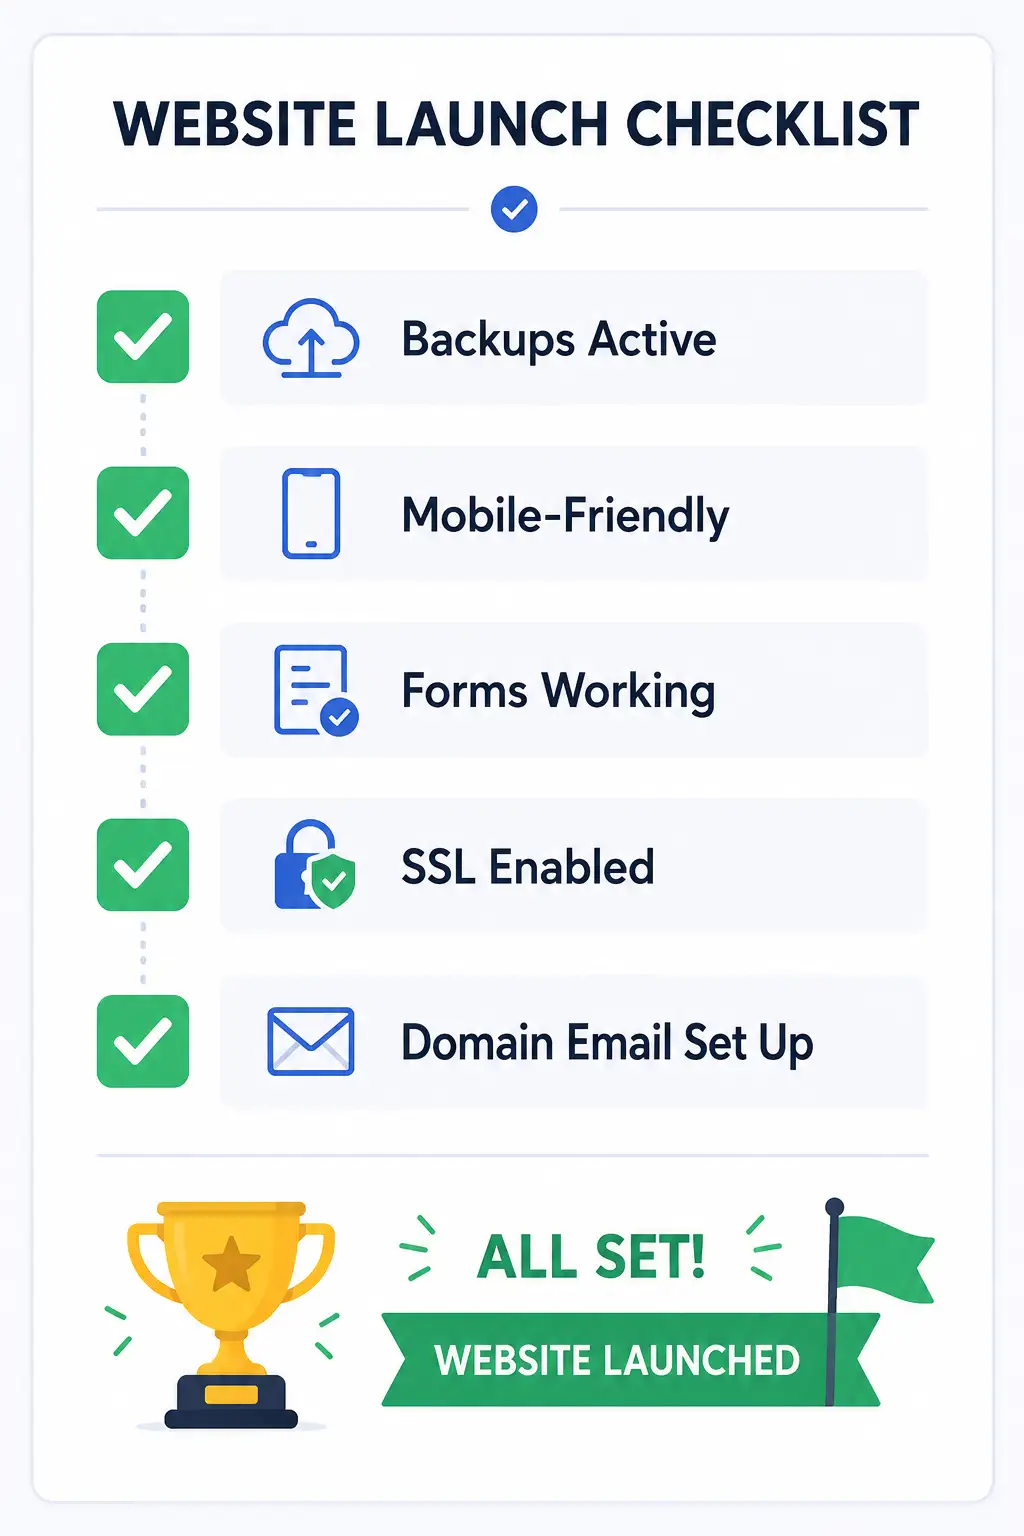
Publishing your site isn’t quite the finish line. In the first week after going live, it’s worth confirming a few things through hPanel: that automatic backups are actively running, that your site loads correctly on both desktop and mobile devices, and that any contact forms or purchase flows on your site are actually delivering messages or completing transactions correctly. It’s also a good time to set up a professional email address using your domain if you haven’t already, since a generic free email address looks noticeably less credible than one matching your actual website domain.
Frequently Asked Questions
Do I need any coding knowledge to build a website with Hostinger in 2026?
No. The AI Website Builder is specifically designed for users with zero coding experience, generating a working site from a text description alone. WordPress requires slightly more comfort navigating menus and settings, but still doesn’t require writing any code for a standard website.
Which is faster: the AI builder or WordPress?
The AI builder is significantly faster for getting an initial working site live, often within minutes of submitting your first prompt. WordPress generally takes longer to set up but offers more flexibility as your site’s needs grow more complex over time.
Can I switch from the AI builder to WordPress later if I outgrow it?
Direct migration between the two isn’t a simple one-click process, since they use fundamentally different underlying systems. If you expect significant long-term growth or complexity, it’s worth strongly considering WordPress from the start rather than planning to switch later.
How long does it actually take to have a live website using the AI builder?
For a simple site, a working first draft can be generated within minutes of submitting a prompt, though realistically budgeting an hour or two for reviewing, editing, and connecting your domain gives a more accurate picture of a genuinely polished result.
Final Thoughts
Creating a website with Hostinger in 2026 comes down to picking the right tool for what you’re actually trying to build, not just following the fastest possible path. The AI Website Builder genuinely delivers on speed and simplicity for straightforward sites, while WordPress remains the stronger choice for anyone planning meaningful long-term growth or customization. Either way, the technical barrier that used to keep non-developers from launching a professional-looking website has largely disappeared — what matters now is spending a little extra time getting your content, SEO basics, and post-launch checklist right, rather than rushing straight from signup to publish.
This guide reflects Hostinger’s website creation tools and process as of August 2026. Specific interface details and AI builder capabilities are updated periodically, so minor steps may shift slightly over time.
RELATED POSTS
View all

20 Things to Check Before Buying a Web Hosting Plan (2026)
August 2, 2026 | by anisurrahaman235f@gmail.com
Best Hosting for Small Business Websites in 2026
August 2, 2026 | by anisurrahaman235f@gmail.com
What Is Hostinger? A Complete Beginner’s Guide (Updated for 2026)
August 1, 2026 | by anisurrahaman235f@gmail.com