

How to Migrate a Website to Hostinger Without Downtime (2026)
August 2, 2026 | by anisurrahaman235f@gmail.com
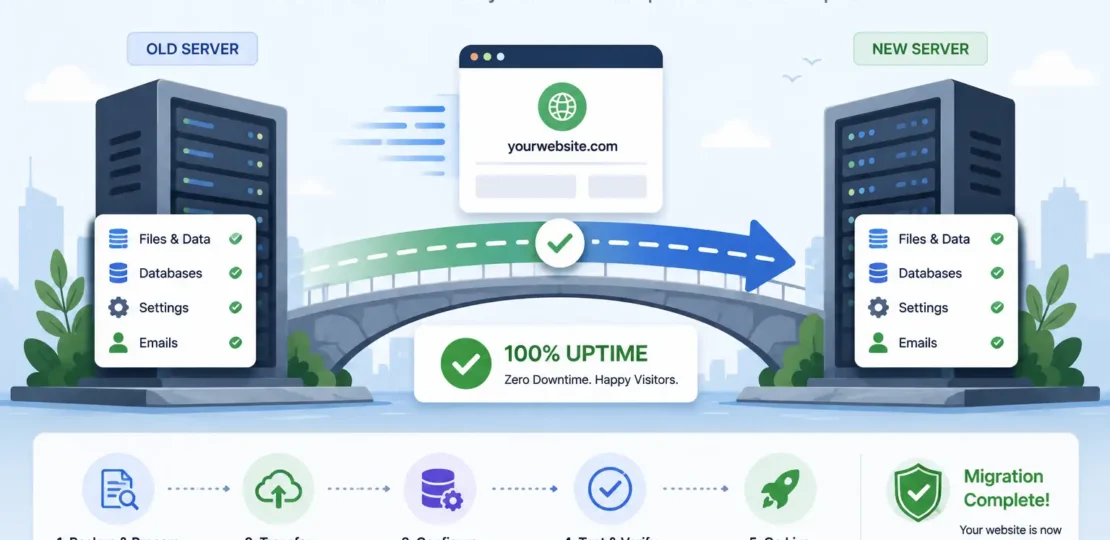
Moving a live website to a new host is one of those tasks that sounds far riskier than it actually needs to be. The fear is usually the same: what if the site goes dark for hours, visitors hit a broken page, or an online store loses orders mid-transfer. The good news is that a properly planned migration to Hostinger doesn’t have to involve any real downtime at all — the trick is understanding the correct order of operations, not rushing the DNS switch, and knowing which of Hostinger’s several migration paths actually fits your situation.
This guide walks through the full process for 2026: preparing before you touch anything, the three practical ways to actually move your site, and the DNS cutover strategy that keeps your original site fully live until the new one is confirmed working.
The Core Principle: Migrate First, Switch Domain Second
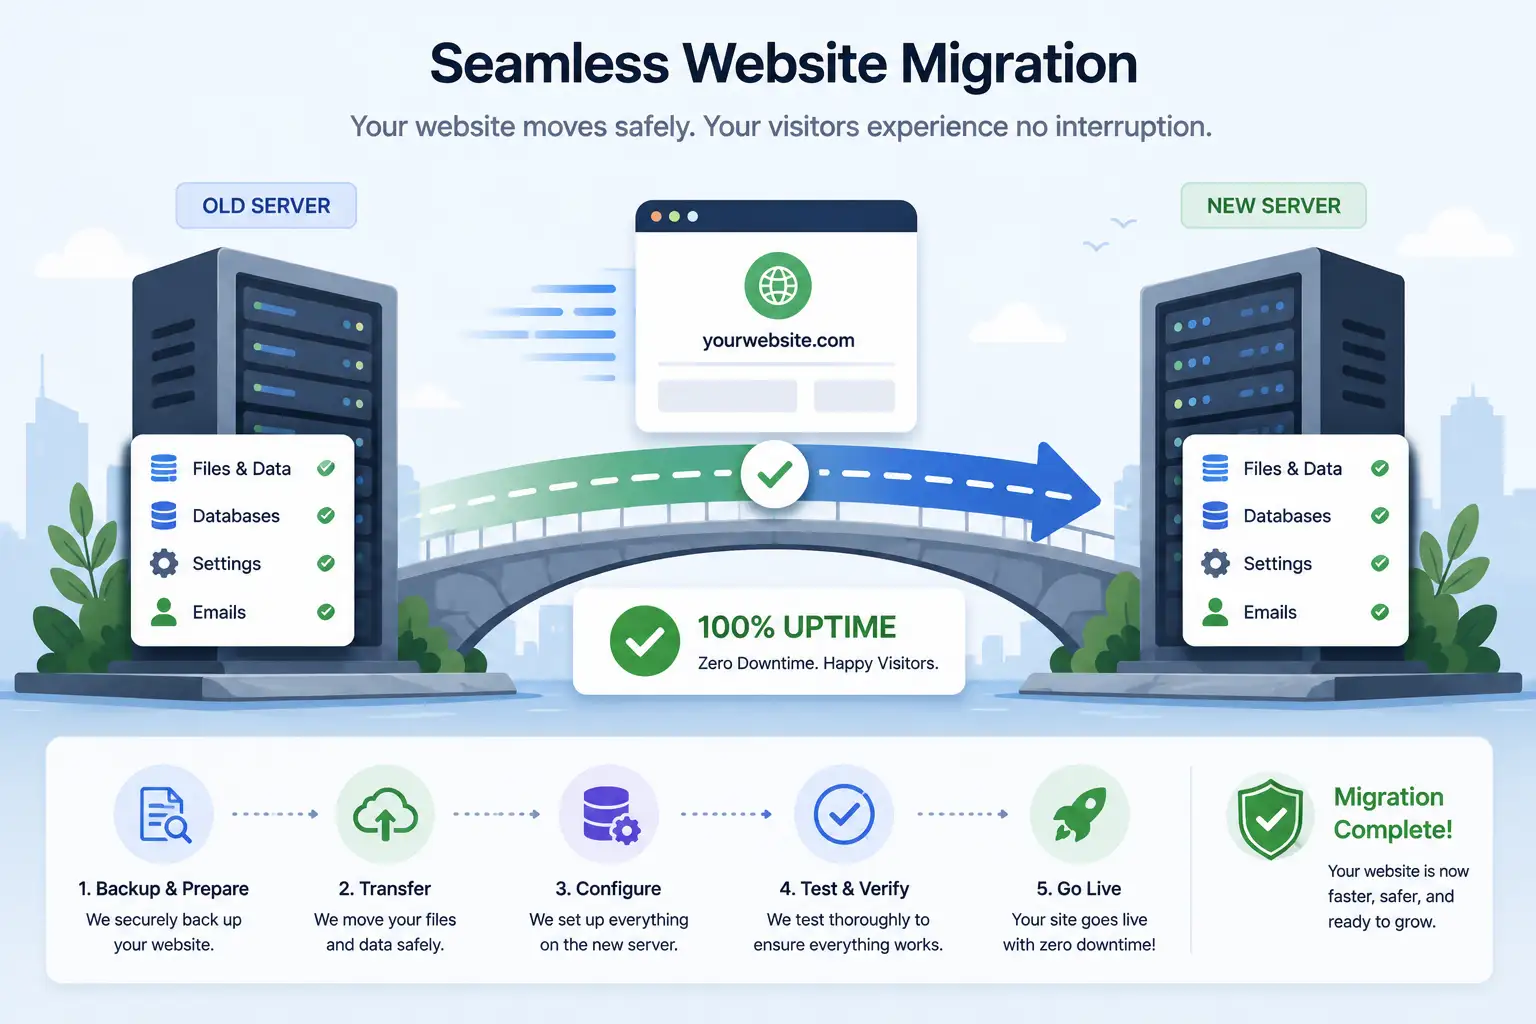
Every reliable migration strategy rests on one central idea: your old site stays fully live and serving visitors the entire time your content is being copied to Hostinger. Only after the new copy is verified working correctly do you flip the domain over. This sequencing is what actually eliminates downtime — the risk isn’t in the copying itself, it’s in switching your domain over to a destination that hasn’t been checked yet.
Hostinger’s own migration tools are built around this exact principle: your website is transferred to a temporary URL or subdomain first, giving you a fully functional preview to test before any DNS change happens at all.
Pre-Migration Checklist
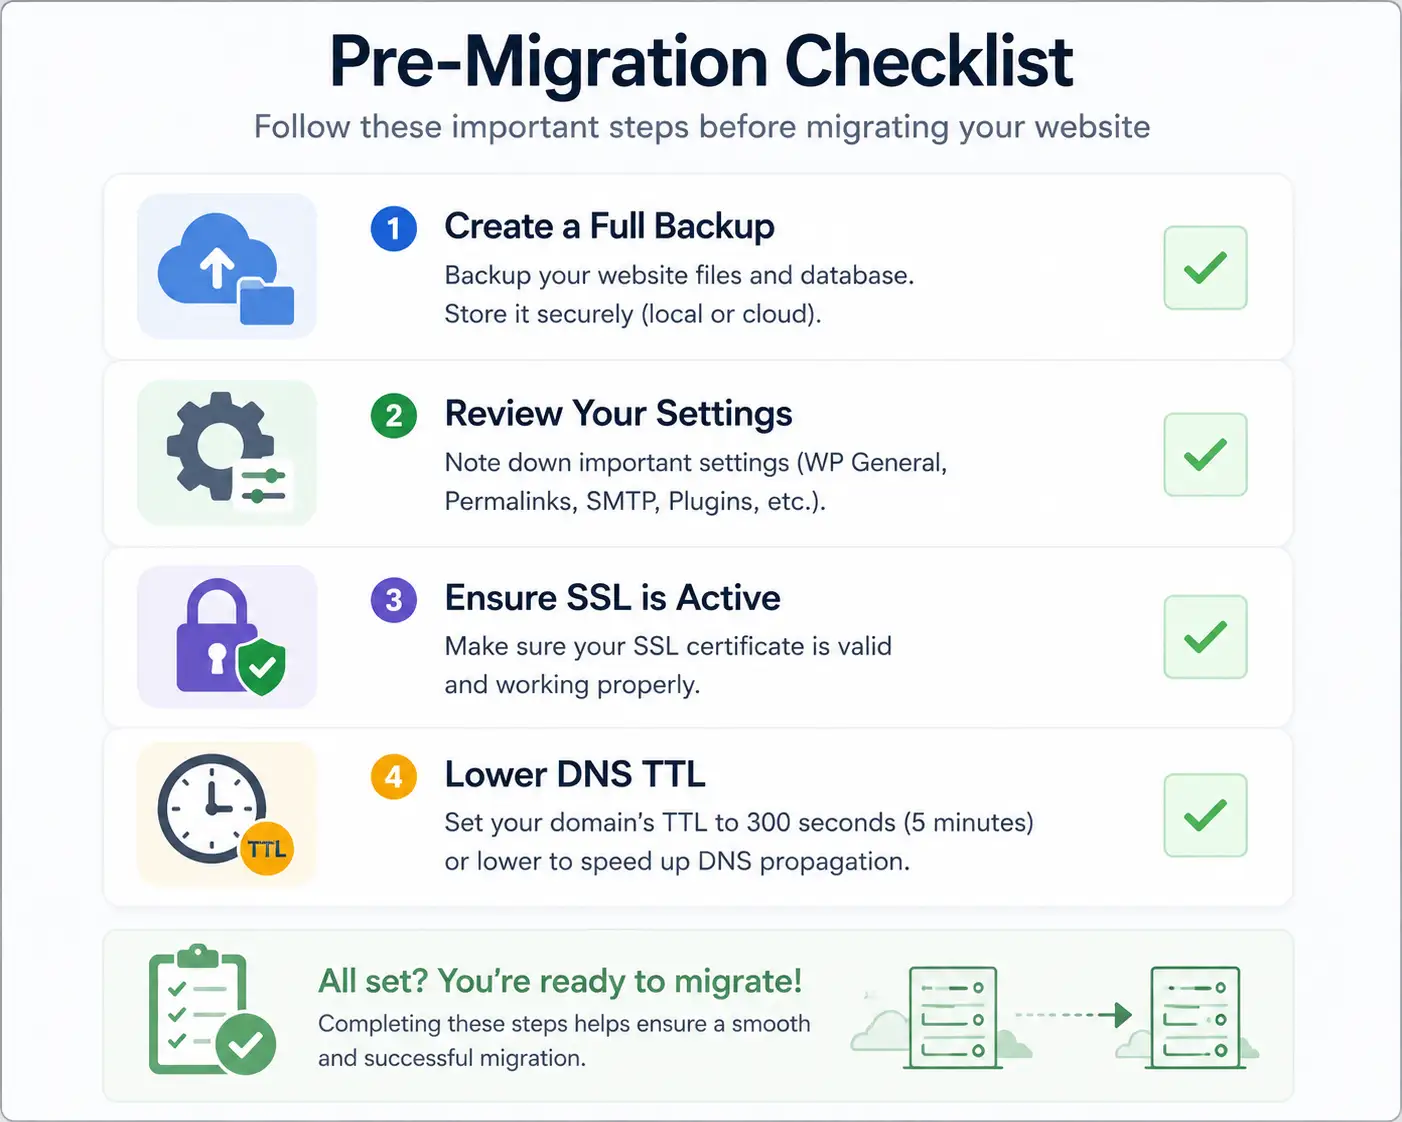
Skipping preparation is the single most common cause of a migration that goes sideways. Work through this before starting the actual transfer:
- Take a full backup of your current site — files and database both — and store it in at least two places: your local computer and a separate cloud storage account. This is your safety net if anything goes wrong at any stage.
- Record your current technical environment: PHP version, MySQL version, current nameservers, all email accounts tied to the domain, your WordPress admin URL and login, and any scheduled cron jobs. A quick screenshot of your old host’s control panel settings takes thirty seconds and can save real time later if something needs to be replicated exactly.
- Review your SSL certificate setup. Note who issued it and where it’s installed, since you may need to reissue a fresh certificate once the site is on Hostinger to avoid mixed-content warnings after the switch.
- Confirm your destination Hostinger plan is active and has enough storage, bandwidth, and database capacity for your site’s actual size and traffic before you begin.
- Lower your domain’s DNS TTL (Time to Live) value 24–48 hours before your planned cutover. A shorter TTL — something like 300 seconds instead of the default — means that when you do eventually switch nameservers, the change propagates across the internet much faster, meaningfully shrinking the window where some visitors might briefly see stale DNS data.
- Remember that email is handled separately. Hostinger’s website migration tools move files and databases only — mailboxes need to be migrated independently, so don’t assume a website migration also brings your inbox along with it.
Method 1: Hostinger’s Free Managed Migration (Best for Most Users)
Hostinger includes unlimited free website migrations with any hosting plan, handled by their own migration team rather than requiring you to move files manually. This is the most reliable option for non-technical users or more complex setups involving WooCommerce stores or custom configurations.
Steps:
- Log in to hPanel and go to Websites → Migrations
- Click Migrate Website and choose your destination hosting plan
- Provide access to your current site — typically your cPanel login or WordPress admin credentials — along with your website’s URL and current hosting provider
- Note any special requirements, such as a WooCommerce store or a staging environment need, in the request details
- Submit the request and wait. Hostinger’s migration team typically completes standard transfers within 24–48 hours, and you’ll receive an email notification once it’s done. If you’re moving between two hosting plans that are both already on Hostinger’s own infrastructure, this process is often much faster, sometimes completing in as little as four hours.
- Once complete, Hostinger provides a temporary preview URL for the migrated site. Thoroughly check every page, image, form, login, and any interactive functionality before approving anything further.
- Only after confirming everything works correctly do you move to the DNS cutover step covered further below.
This method’s biggest advantage is that Hostinger’s team handles database imports, file transfers, and wp-config.php configuration on your behalf — genuinely useful if you’d rather not touch server-level configuration yourself.
Method 2: Plugin-Based Migration (Faster, More Hands-On Control)
If you want more control over timing, or you’re on a plan where guided migration isn’t included, a WordPress migration plugin gives you a faster, self-managed alternative.
Steps:
- Install WordPress on your Hostinger account first, through hPanel → Websites → Auto Installer → WordPress
- On your current site, install the All-in-One WP Migration plugin and export a complete backup file
- Before your domain is pointed to Hostinger, you can preview the new install using the temporary URL Hostinger provides, or by editing your computer’s local hosts file to point your domain to Hostinger’s IP address just for your own device — a technique that lets you test the live site privately without affecting any other visitors
- Install the same All-in-One WP Migration plugin on the new Hostinger WordPress install, then use its Import function to upload your exported backup file
- Verify the imported site thoroughly through the temporary URL or your locally modified hosts file before touching DNS at all
One practical limitation worth knowing: the free version of this plugin caps export file size around 512MB. Larger sites will need either the plugin’s paid unlimited extension or an alternative tool like UpdraftPlus, which supports splitting larger backups into manageable pieces.
Method 3: Manual Migration (For Non-WordPress Sites or Full Control)
If your site isn’t built on WordPress, or you simply prefer complete manual control over every step, this path works for essentially any type of website.
Steps:
- Connect to your current host via SFTP using a client like FileZilla, and download your entire
public_htmldirectory (or equivalent root folder) to your local computer - Export your database through phpMyAdmin on your current host, saving it as a
.sqlfile - Upload your downloaded files to Hostinger via SFTP or hPanel’s File Manager
- Create a new database in hPanel, then import your exported
.sqlfile through Hostinger’s phpMyAdmin tool - Update any configuration file (such as wp-config.php for WordPress, or an equivalent config file for other platforms) so the database name, username, password, and host values match your new Hostinger database exactly
- Preview and thoroughly test the site via Hostinger’s temporary URL before proceeding to DNS changes
The DNS Cutover: The Step That Actually Determines Downtime
Once your migrated site is fully verified and working correctly on Hostinger, it’s time for the only step that visitors will actually notice happening: pointing your domain to its new home.
- Log in to your domain registrar’s control panel (or hPanel’s domain section if your domain is already with Hostinger)
- Update the nameservers to Hostinger’s nameservers, or update the specific A record if you’re using that method instead
- Because you already lowered your DNS TTL beforehand, this change should propagate across most of the internet within a much shorter window than the default 24–48 hours — often noticeably faster
- Do not delete your old hosting account yet. Keep the original site active and untouched for at least a few days after the switch, since some visitors’ devices or ISPs may still be resolving the old DNS data during the tail end of propagation
Important detail specific to Hostinger: if you’re moving between two hosting plans both already hosted on Hostinger, a domain can only be actively linked to one website at a time. In that specific scenario, you’ll need to delete the website from the original plan to release the domain before connecting it to the new one — and if that domain has associated mailboxes, make sure the “delete mailboxes” option is left unmarked during that process so you don’t accidentally wipe out active email accounts.
Post-Migration Checklist
- Reissue or reconfirm your SSL certificate on the new Hostinger environment to avoid mixed-content warnings once traffic starts arriving over HTTPS
- Test every form, login, and interactive feature again on the live domain itself, not just the temporary preview URL, since some configurations behave differently once the real domain is active
- Check for broken internal links or hardcoded old-host references, particularly on non-WordPress sites where URLs weren’t automatically rewritten during the move
- Monitor uptime and load times closely for the first 48–72 hours, since this window is when any lingering DNS propagation issues or configuration mismatches tend to surface
- Migrate email separately if you haven’t already, using Hostinger’s dedicated email migration process, since it isn’t bundled into any of the website migration methods above
Final Thoughts
A downtime-free migration to Hostinger isn’t about finding some special trick — it’s simply about sequencing the work correctly: prepare thoroughly, migrate to a temporary environment first, verify everything works, and only then switch your domain over with a pre-shortened DNS TTL to minimize the propagation window. Whether you use Hostinger’s free managed migration service, a plugin-based approach, or a fully manual transfer, the same core principle applies throughout — your visitors should never actually notice the move happened at all.
RELATED POSTS
View all


A Comprehensive Guide to Modern Life, Environment, and Society
June 24, 2026 | by anisurrahaman235f@gmail.com